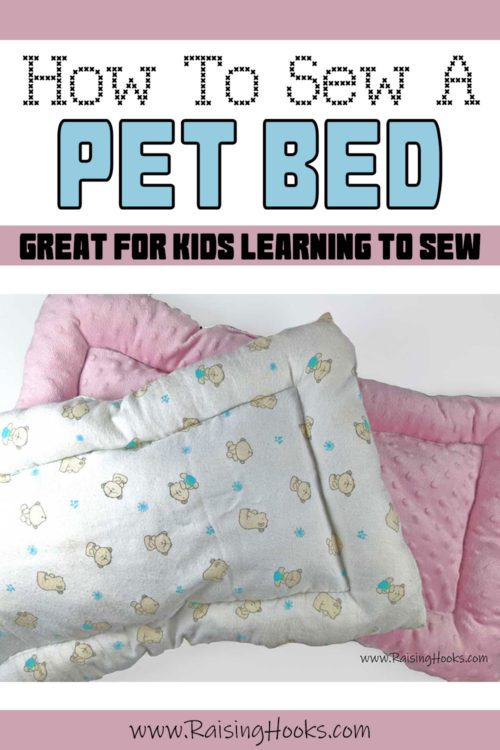
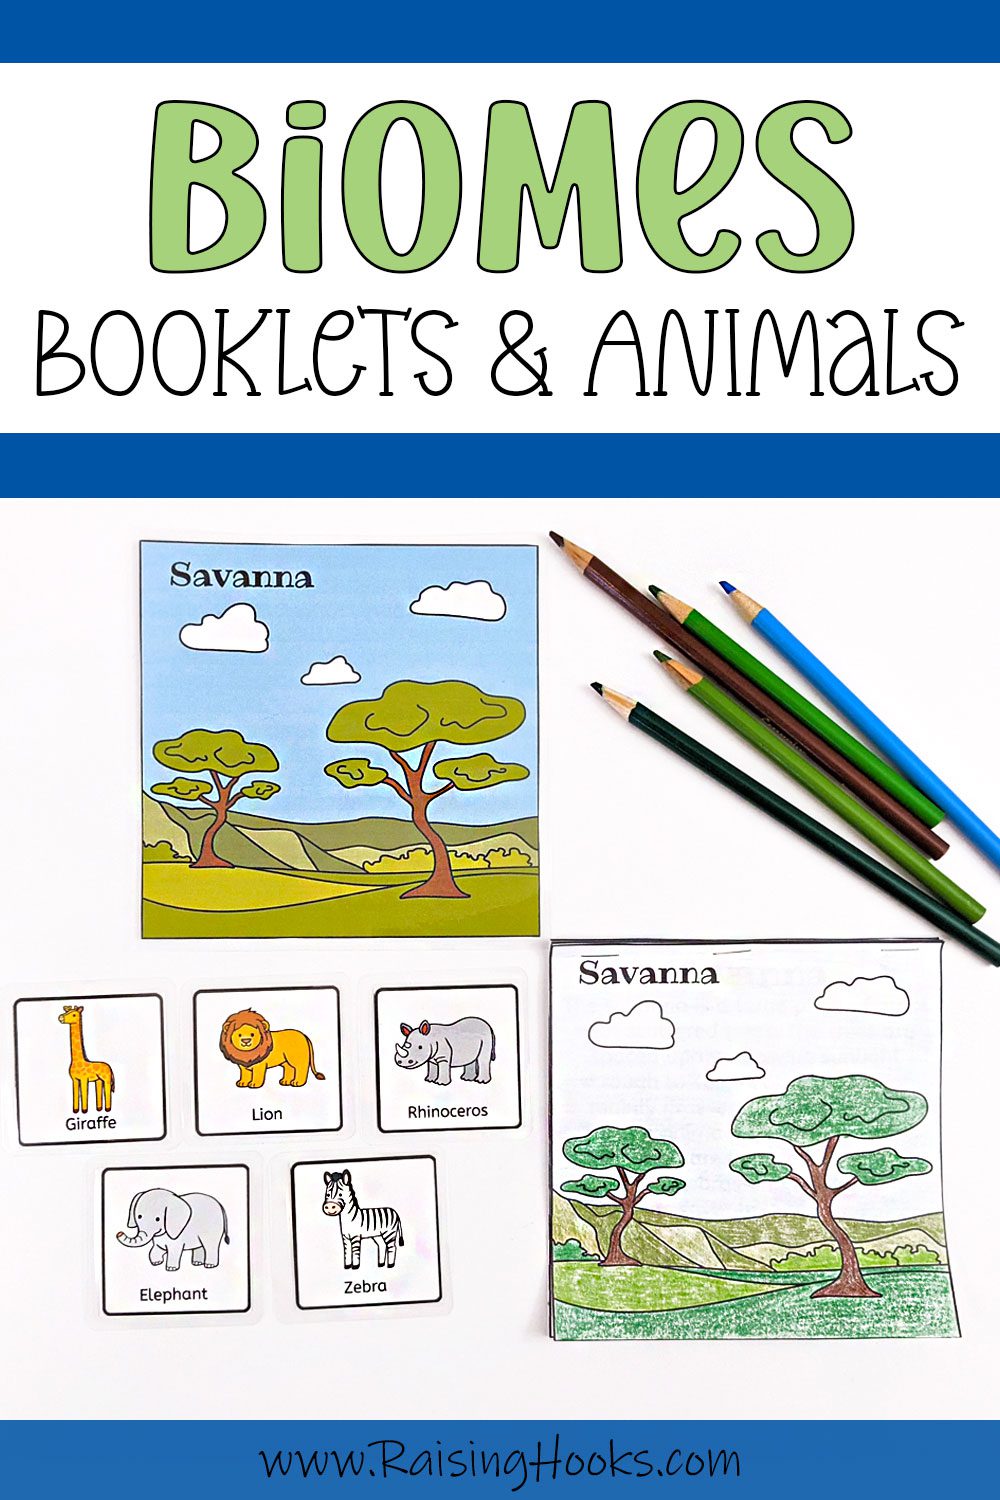
How To Sew A Pet Bed – a tutorial for kids
My kids go to a homeschool co-op where they do extra curriculars. Sewing and cooking are their favorite classes. They come home asking for more and with winter setting in, our bunnies could use a comfy, warm bed. We decided to practice sewing by making new beds for our bunnies! Watching my kids sew gave me so much more appreciation for our co-op. I can see how much they have learned and how much they truly enjoy it. They did a great job and thankfully, our bunnies won’t notice any inaccuracies.
You will need:
Sewing Machine
Fabric – we used one side fleece and one side cotton.
Scissors
Fabric Marker or Pencil or Chalk
Filling – we cut open an old pillow and used the filling. You can buy Polyester Filling or use scraps from old clothes, blankets, etc.
Pins
Stapler – optional but did I just think of a GENIUS hack? See below!
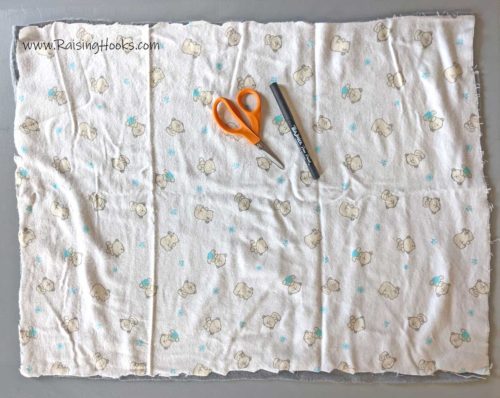
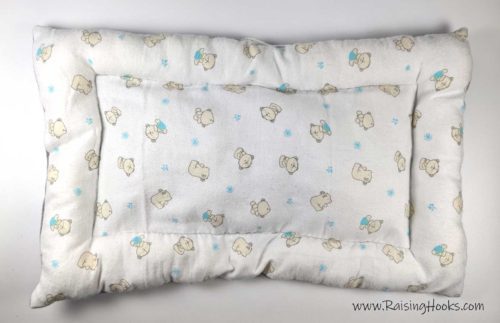
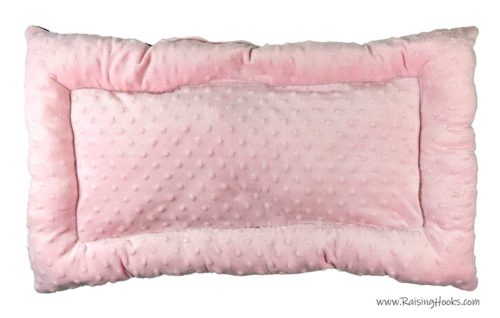
Start by measuring your fabric. I cut our fabric with an extra 2 inches on all sides. Pick one side to start. We made our beds 15 x 25, perfect size for the bunnies (that’s 19 x 29 when measuring the fabric to leave room for sewing). To cut the second side, I placed the first cut piece onto the fabric and cut along the edges.
The next step is to pin the fabric pieces together with the wrong sides facing out. The project will be turned inside out later on. You can pin along the edges and corners to keep everything in place OR you can try my epic hack.
EPIC HACK? WHAT DO YOU MEAN? Okay, I don’t claim to be an expert in sewing but this worked for us. Instead of pinning the pieces together and having to remove the pins as you sew, I stapled them together along the edges. It was so easy! And because I left 2 inches of room on all sides, the staples were out of the way when we went to sew and were cut off later in the project. It was a GAME CHANGER.
Now, maybe you actually are an expert sewer and you are shaking your head at me. That’s okay! This wasn’t meant to be a beautifully made masterpiece! It was easy and worked great for us!
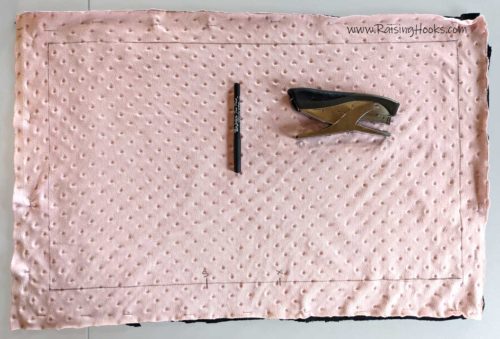
Using your fabric marker or pencil, mark the lines for the size of the bed centered on the fabric. This is your sewing line. Make sure to leave a few inches open so that you can stuff your bed. Our opening was slightly too small. I would leave a little more room next time for an easier time filling the bed.
I made a little line where I wanted my kids to start sewing (marked with an ‘S’) and another little line where I wanted them to stop sewing (marked with an ‘X’).
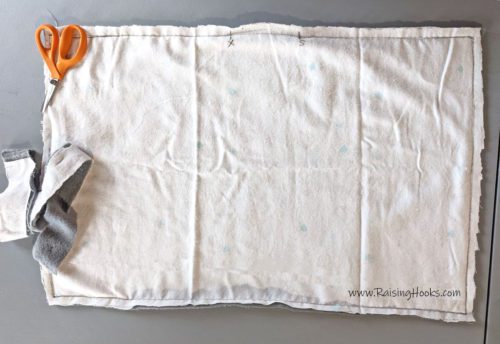
Once you’ve sewed your line, cut away the extra fabric leaving about a 1/4 inch of material. If you stapled, this is where the staples get cut off.
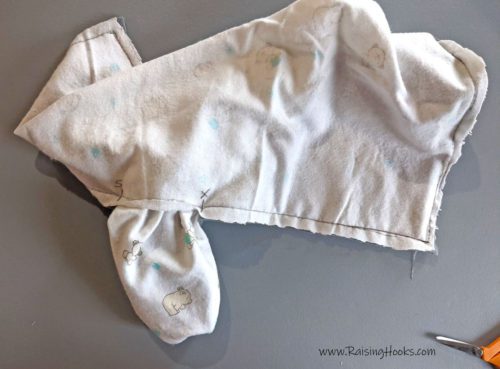
Carefully turn your project inside out. Use your finger to push the corners out.
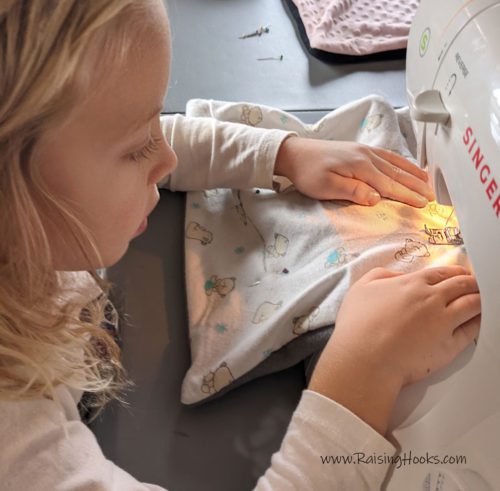
Now it’s time to sew the inside rectangle. Measure 3 inches from the edges on the top side of the bed and mark your lines. Start and end at the same location as your first rectangle to leave an opening for stuffing. This time, you will want to pin the rectangle so it stays in place while you sew.
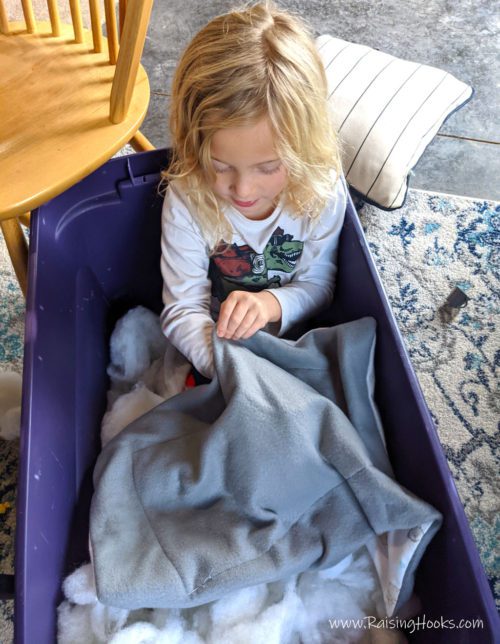
Finally, you get to stuff your bed! Sit in a big tub of filling and start stuffing! Just kidding…
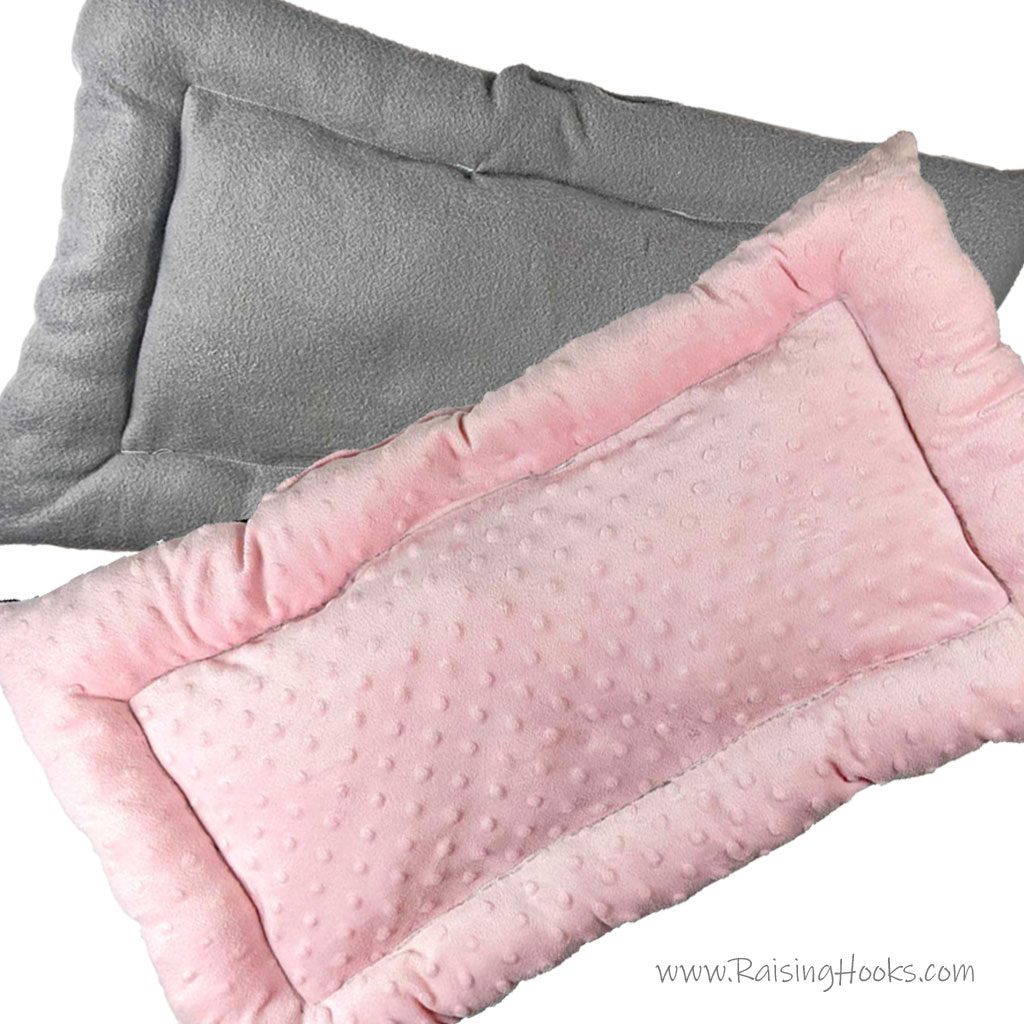
We made the outer edge more firm with extra filling and the center rectangle cushioned but flatter. You will need to work it around with your hand to get it all the way around the edges.
Now you need to close the rectangles. When our center was stuffed, we sewed a small line to close the smaller rectangle’s gap. Then we finished filling the edge and sewed another small line to close the outer rectangle.
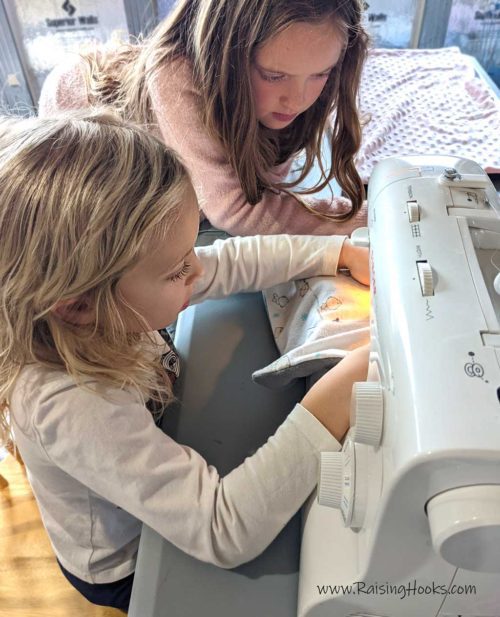
You can choose to hand sew the edge so you don’t see the stitch but we just sewed a line right on top. You can barely tell.
The kids brought the beds out to the bunnies with great excitement. They were very proud and can’t wait to make more sewing projects.
Related Posts
Salt Dough Ornaments
November 30, 2018
St. Patrick’s Day Lucky Charm Paper Bracelet – Color & Wear
March 9, 2024