
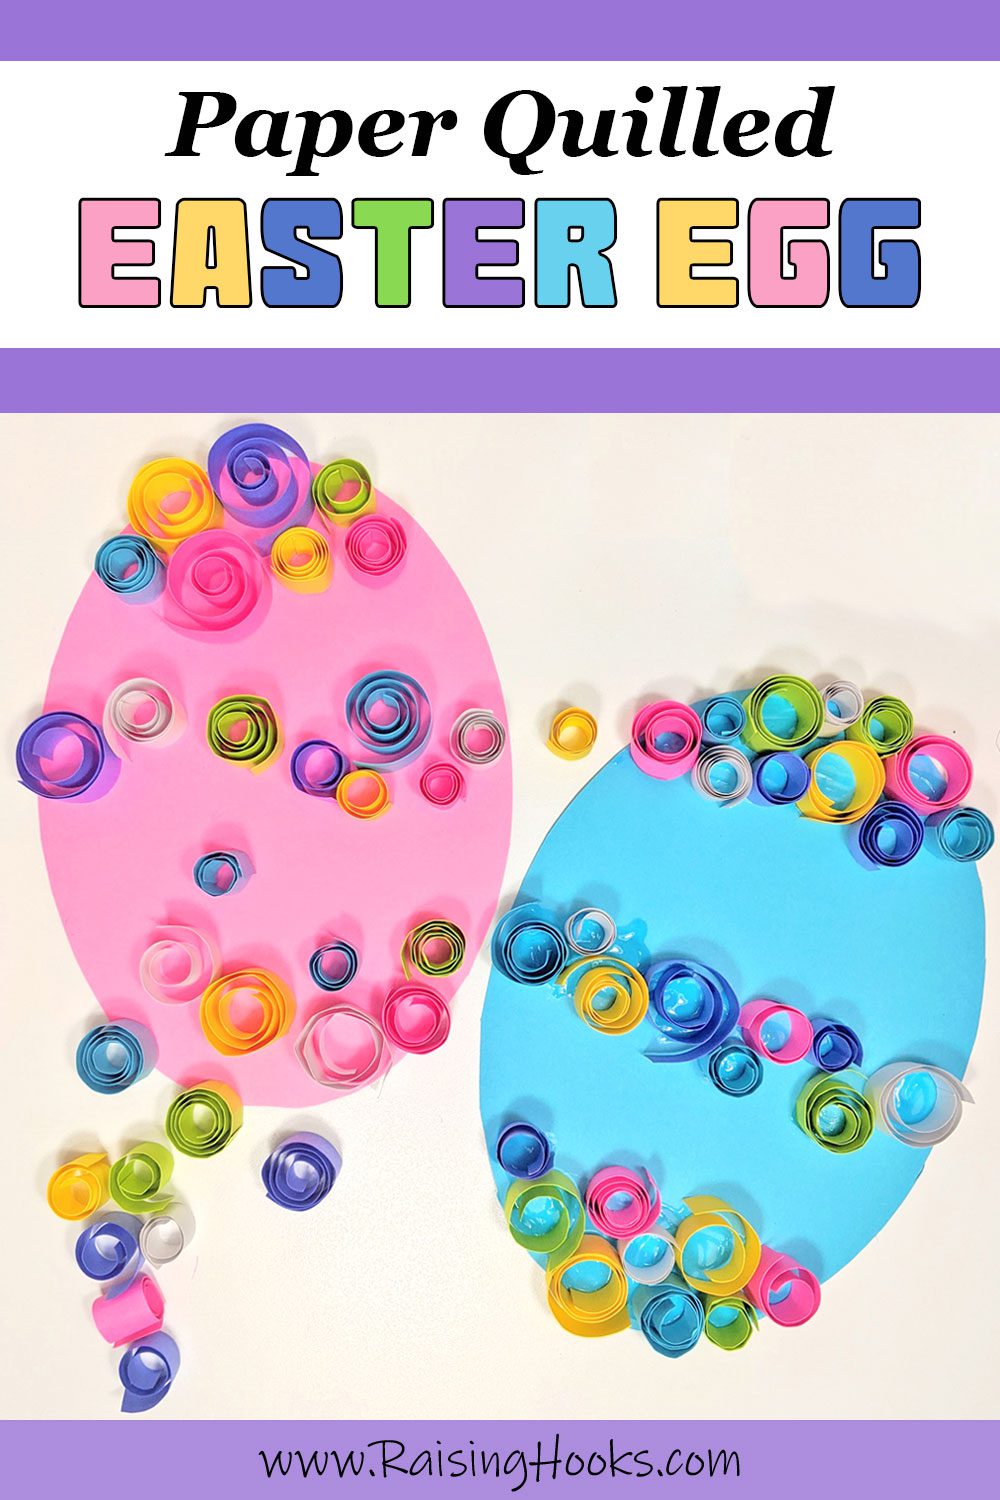
Paper Easter Egg Craft
With Easter right around the corner, we’ve been digging into some fun Spring crafts! How adorable are these Paper Quilled Easter Eggs?! This was my first time ever trying paper quilling. Miss 5 and I definitely enjoyed it.
You will need:
Colored Cardstock or Construction Paper
Pencil or Knitting Needle
Elmer’s Glue
Paper Trimmer or Scissors
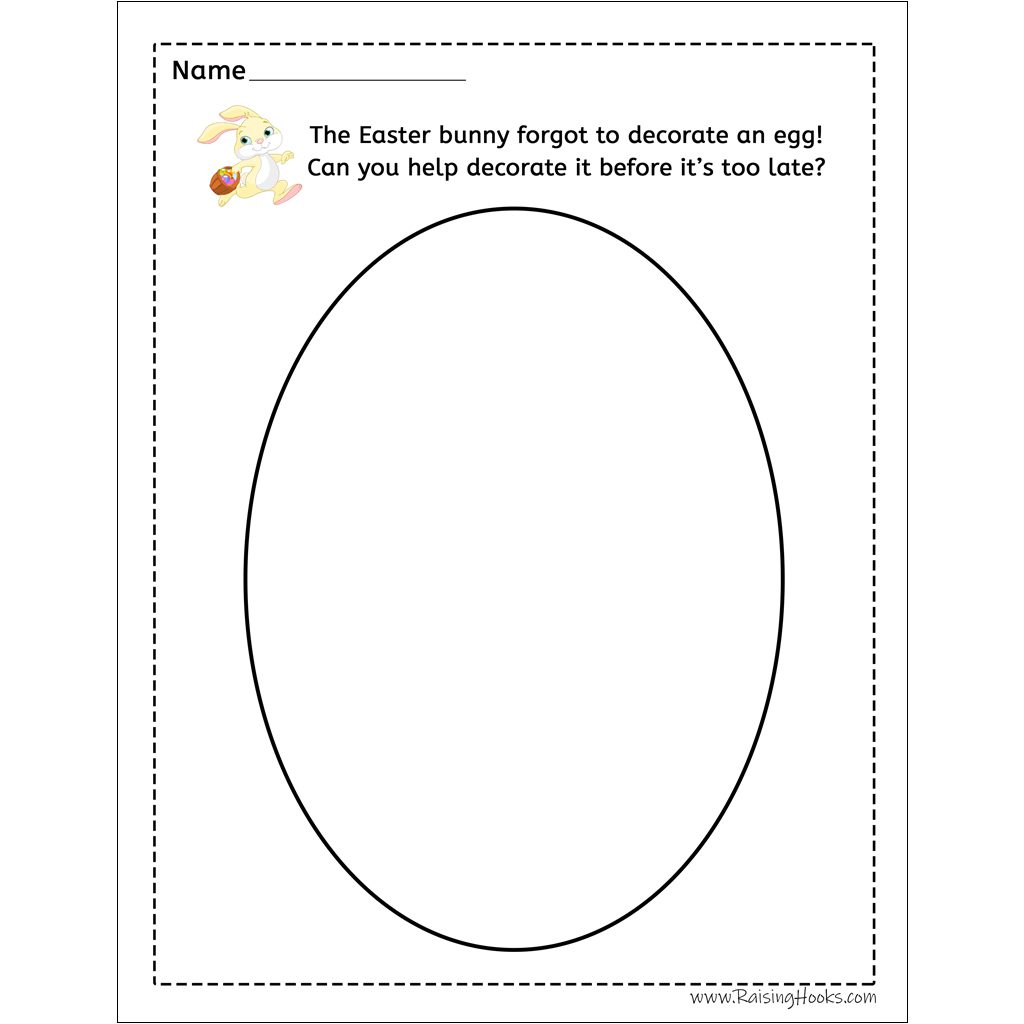
Template (Scroll down to download!)
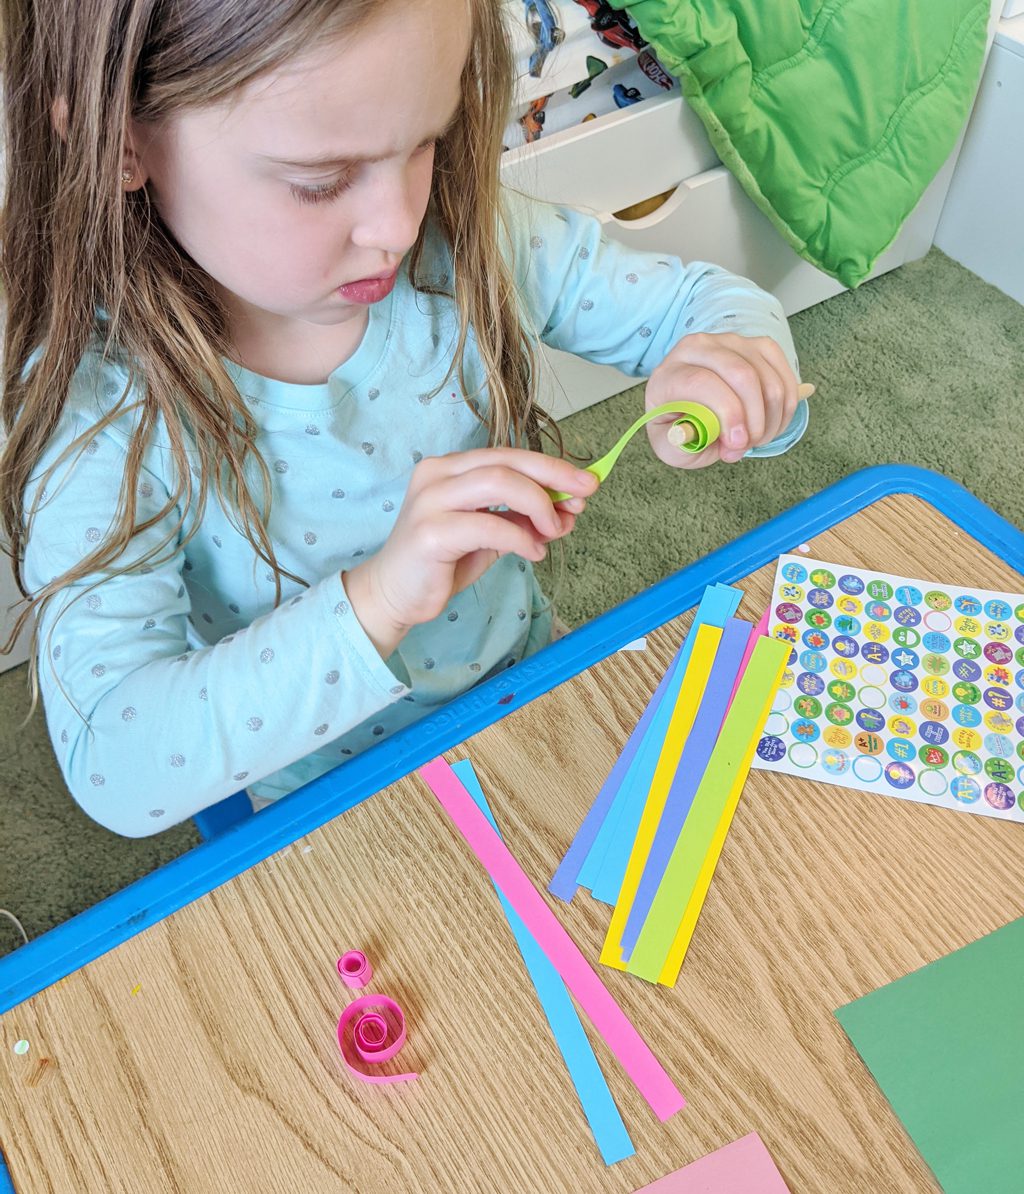
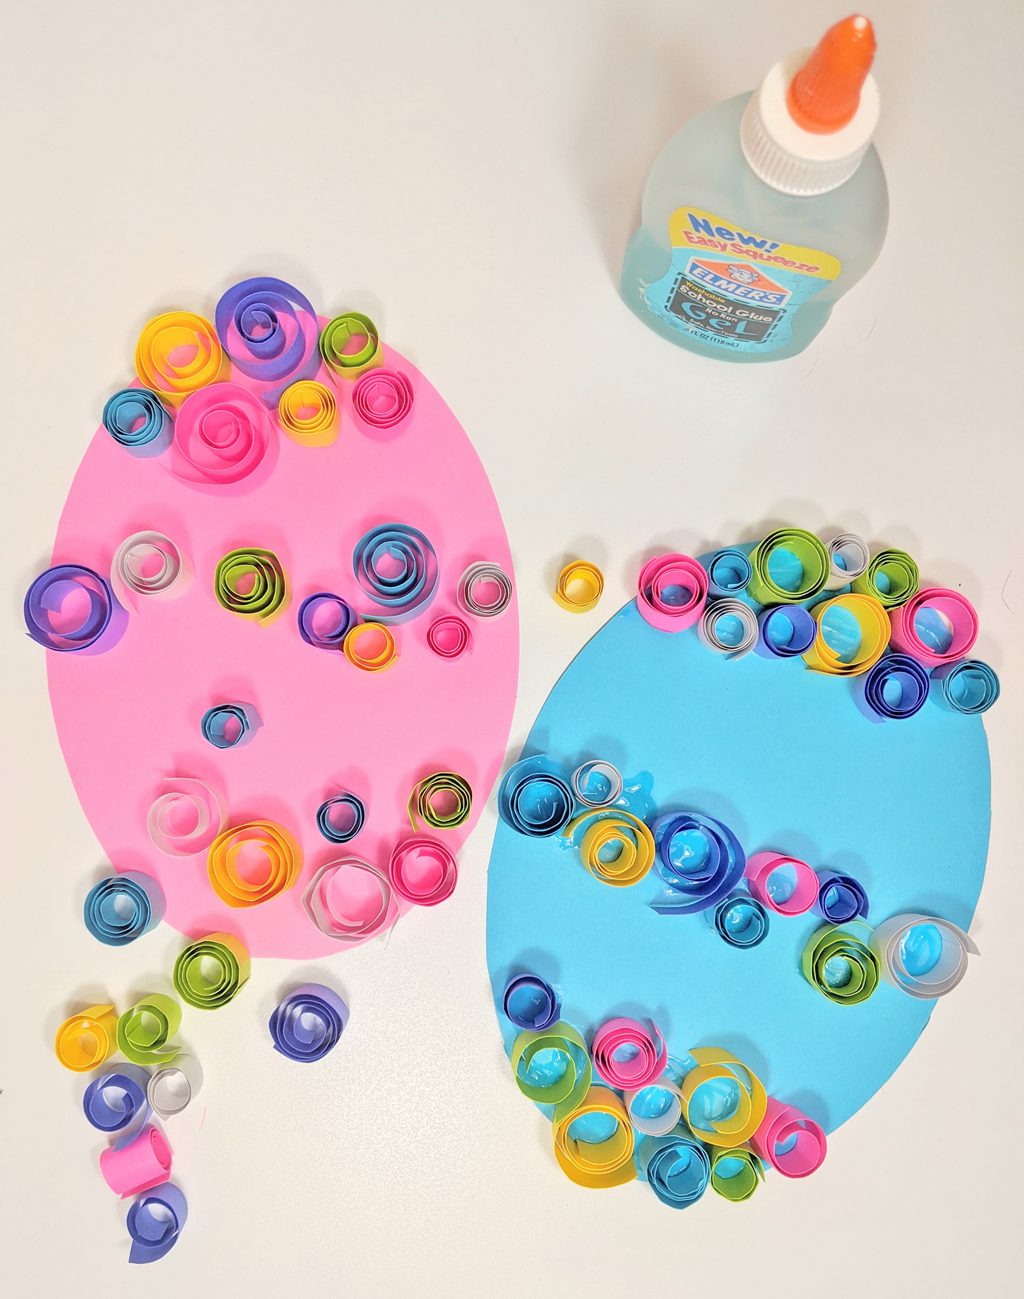
1. Start by trimming your paper into .5 inch strips. I cut 8 inch long pieces and then cut some of them in half to create smaller and larger spirals. I used a paper trimmer for easy straight lines.
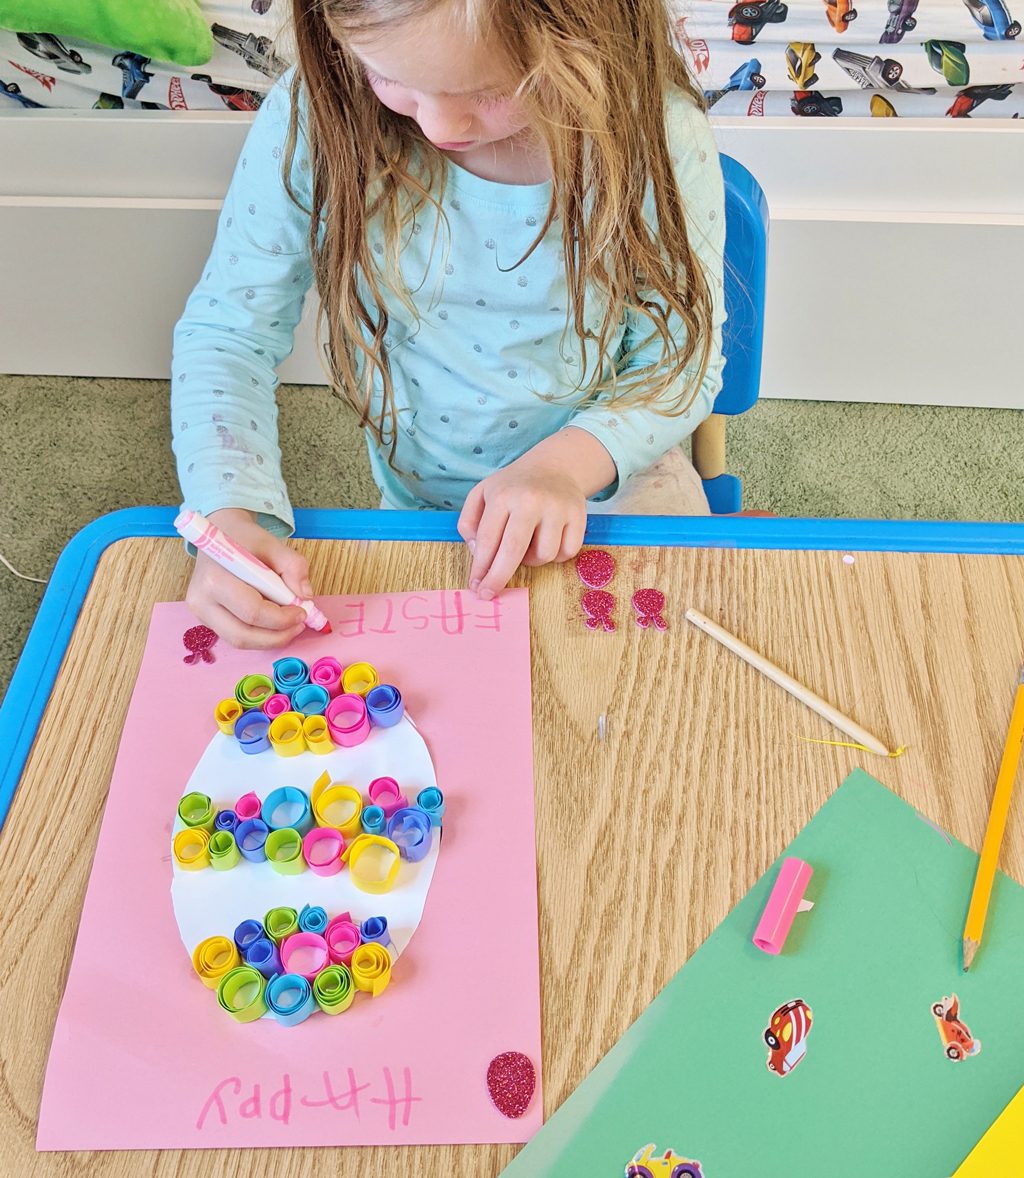
2. Wrap each paper strip around your pencil or needle. Once it’s completely wrapped, let go and pull it off the pencil. For tighter spirals, hold it tight in your fingers for a few seconds. Also, the thinner the pencil or needle, the tighter the spiral will be.
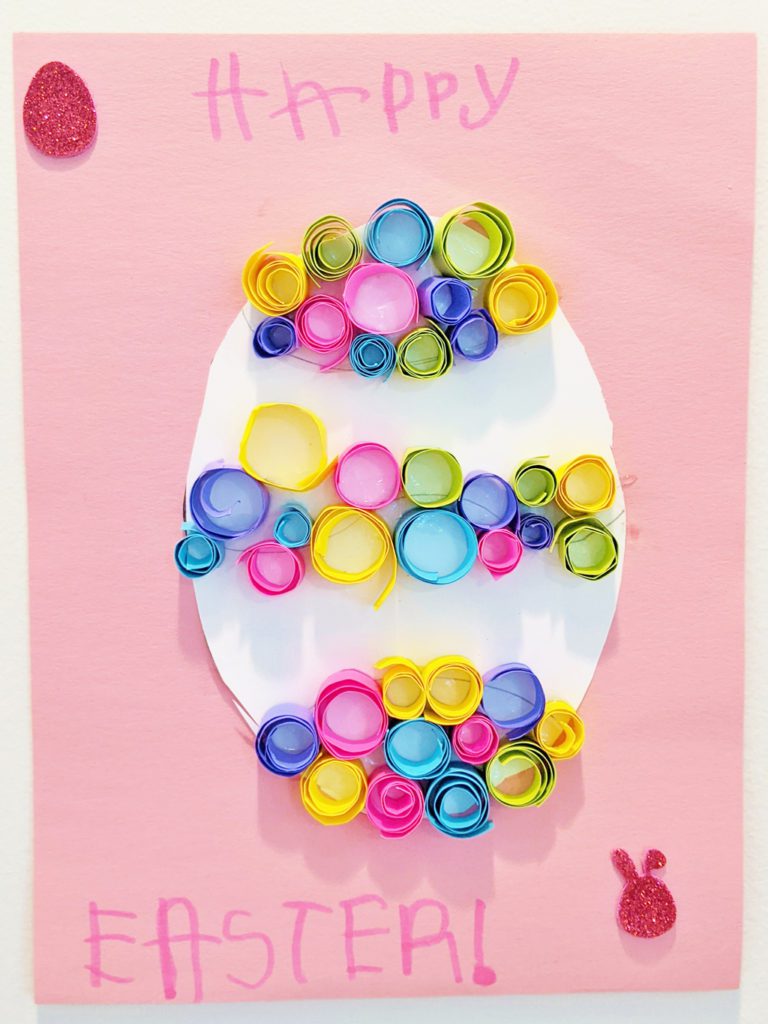
3. Spread glue on the egg in the spot you want the spirals. Gently press your spirals into the glue.
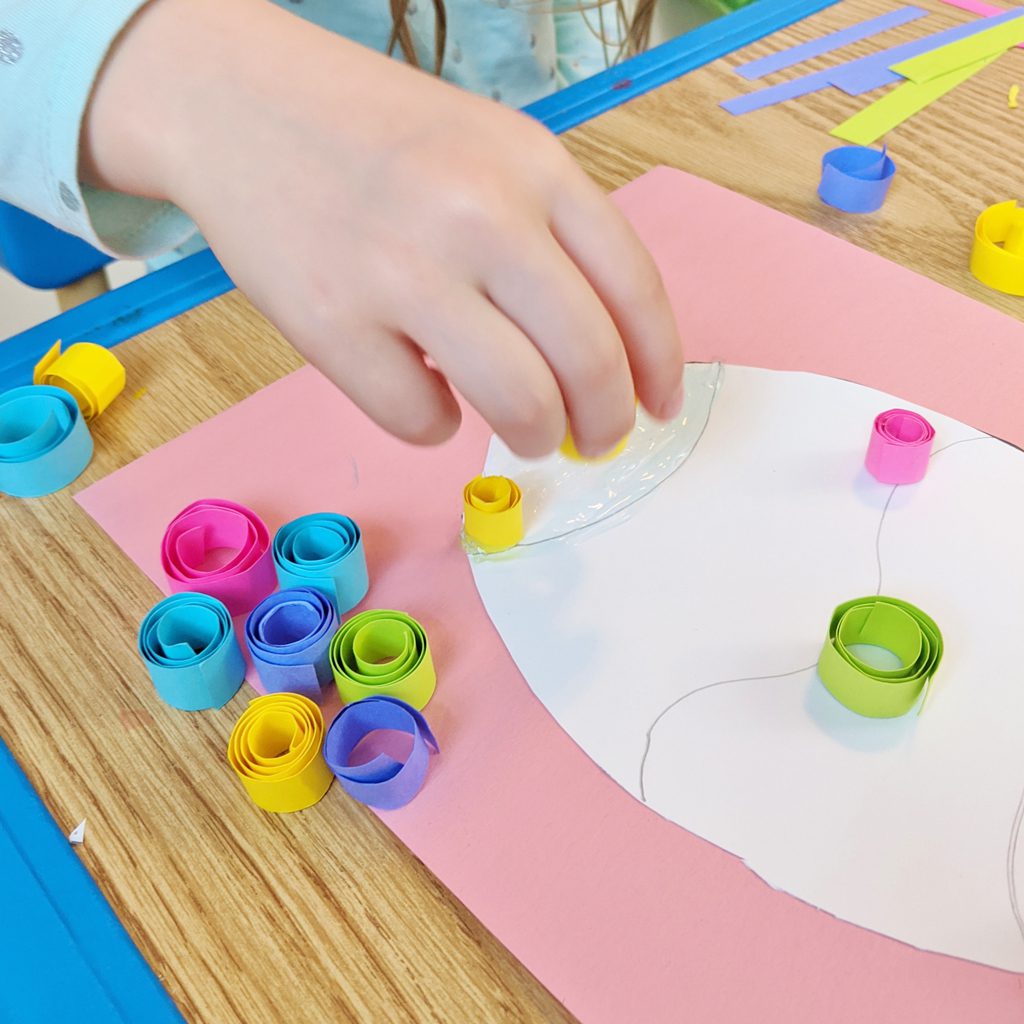
We glued our first egg to a pink piece of paper and wrote Happy Easter! Then, we made a couple more eggs on colored paper.
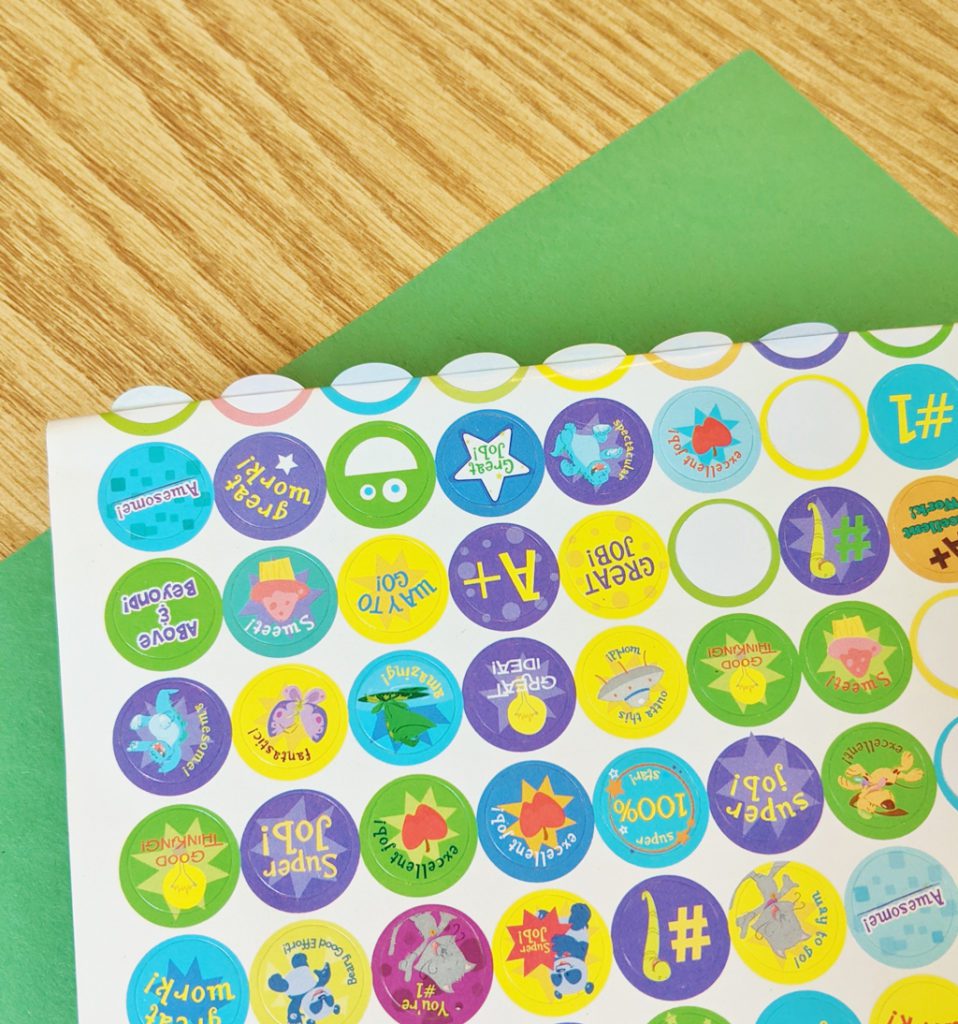
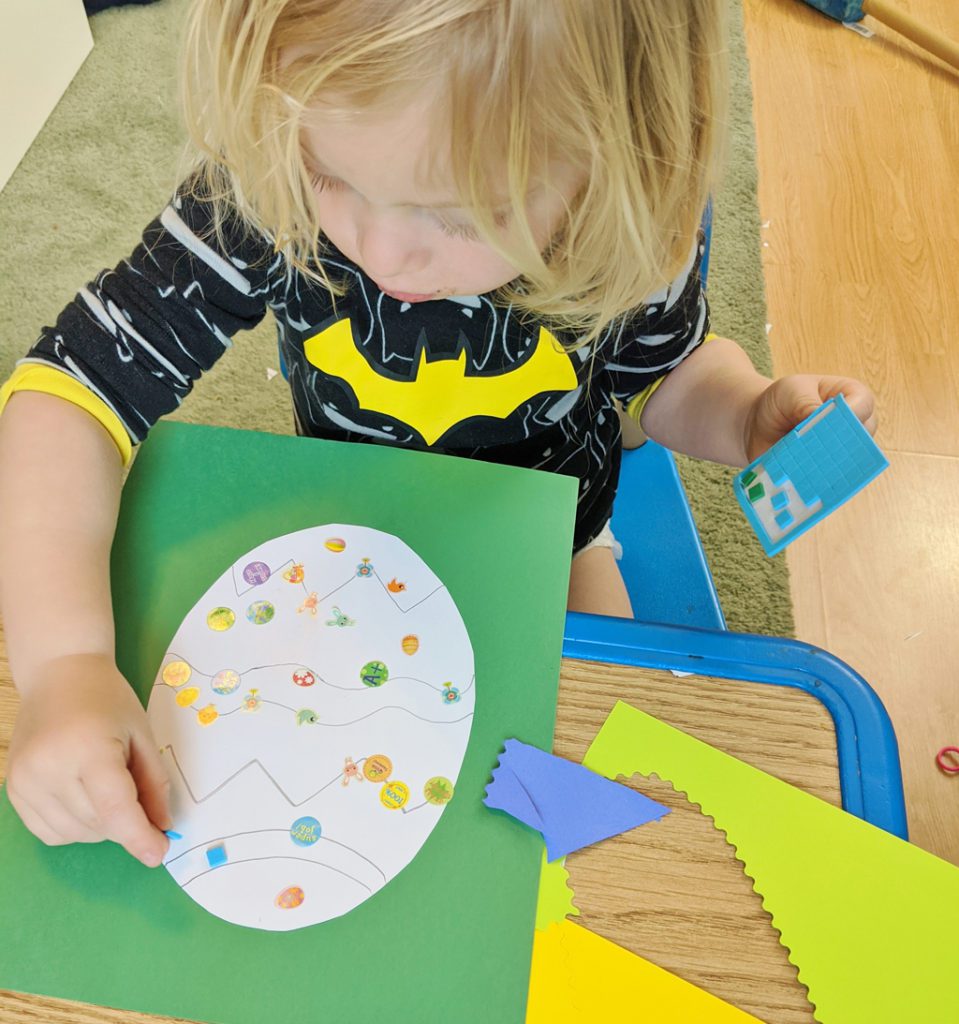
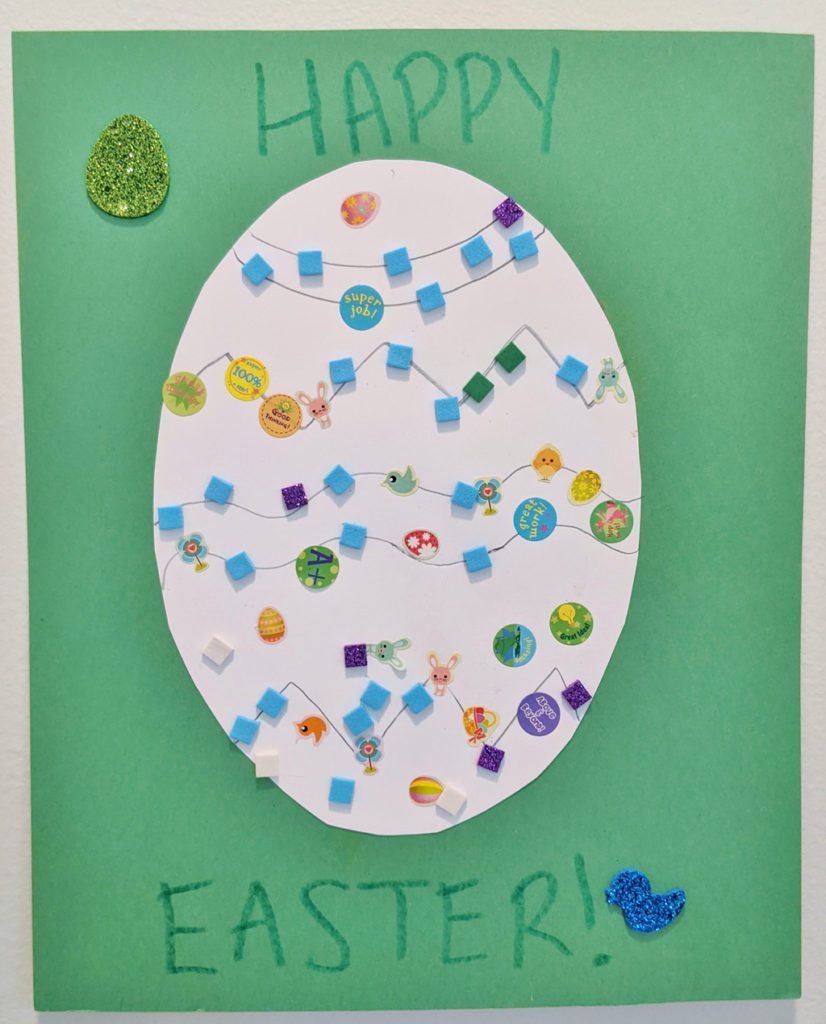
For Mr. 2, I cut out an egg and glued it to green paper (his favorite color). I gave him stickers and told him to “trace” the lines with stickers.
*Tip* Fold the sticker sheet in half to lift the edge of the stickers. It makes it easier for little hands to peel.
These turned out super cute! The kids hung their eggs in their room as decoration for Easter! This was a great craft to spend a quiet afternoon.
Thanks to Projects With Kids for this awesome idea!
Click the picture to download and print your template!
I printed our eggs on colored and white cardstock.
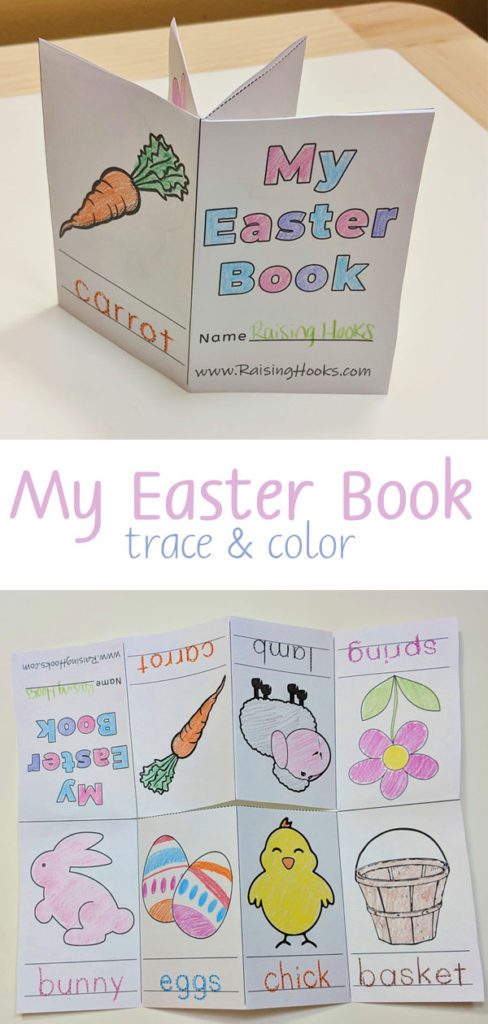

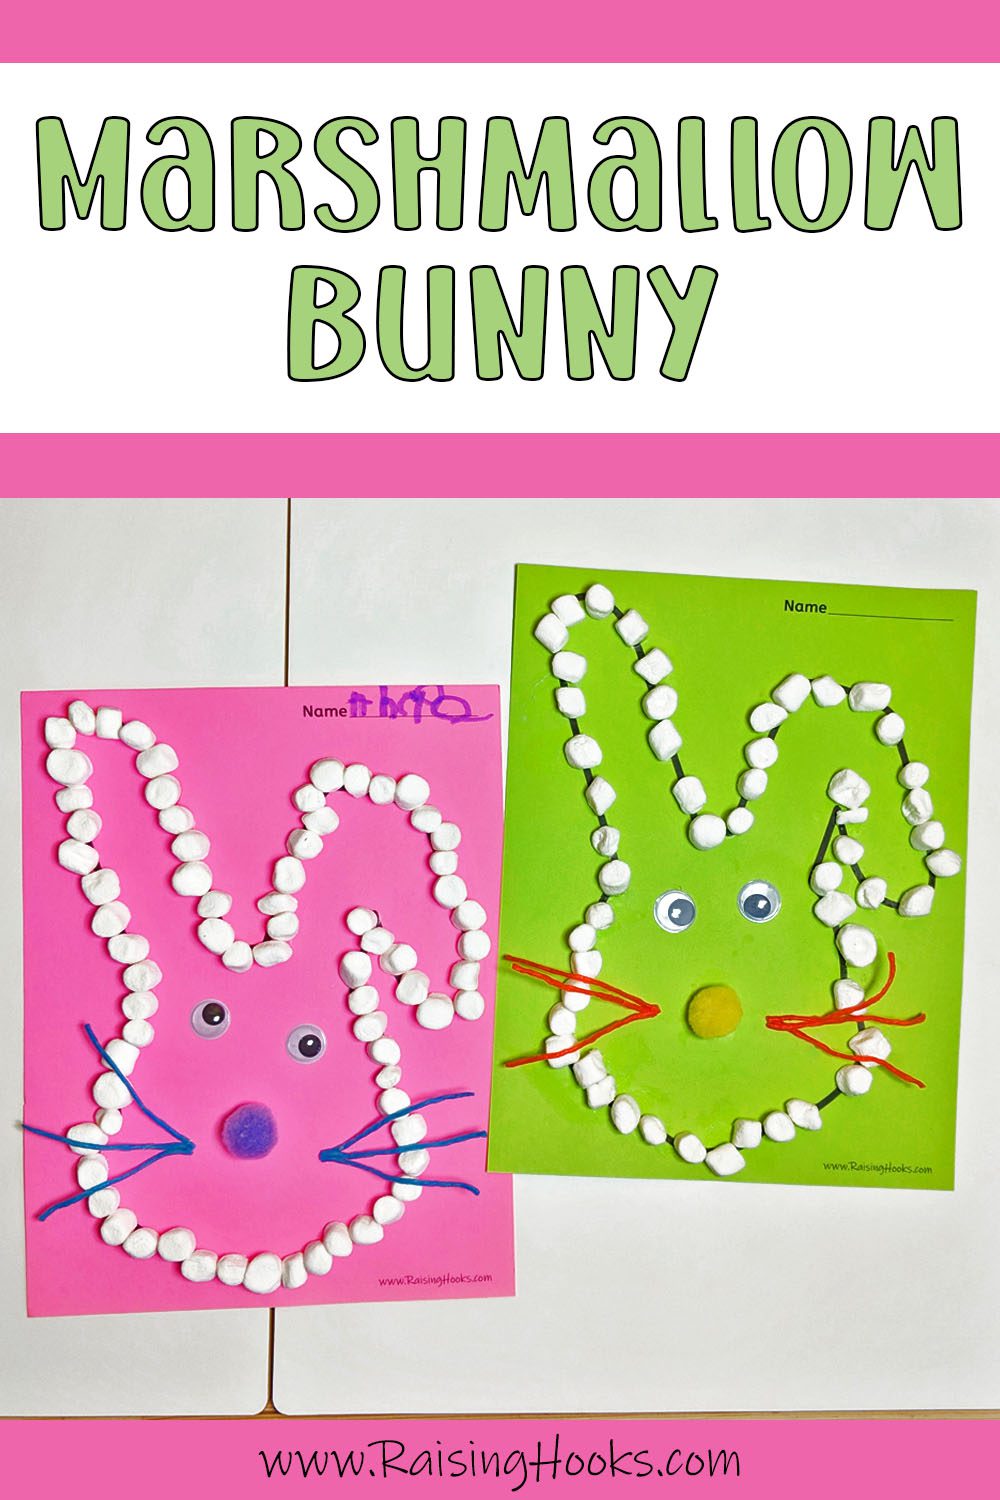
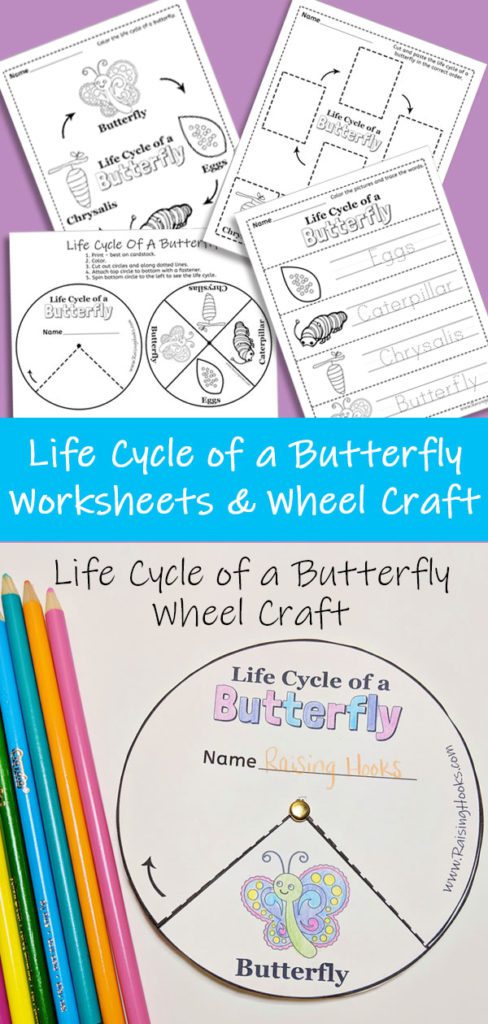
Related Posts
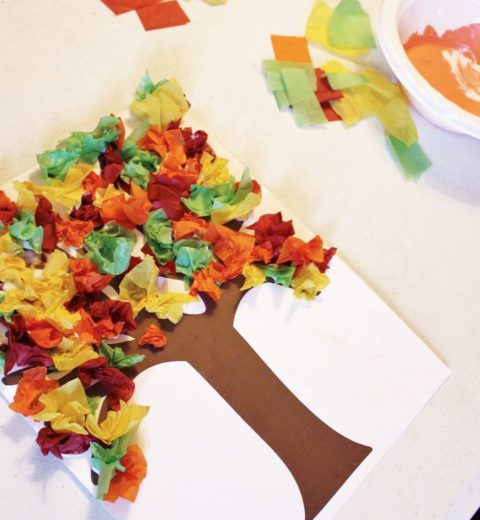
Tissue Paper Tree
June 2, 2018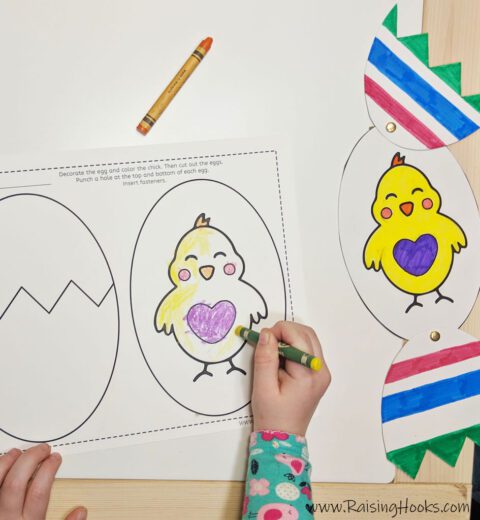
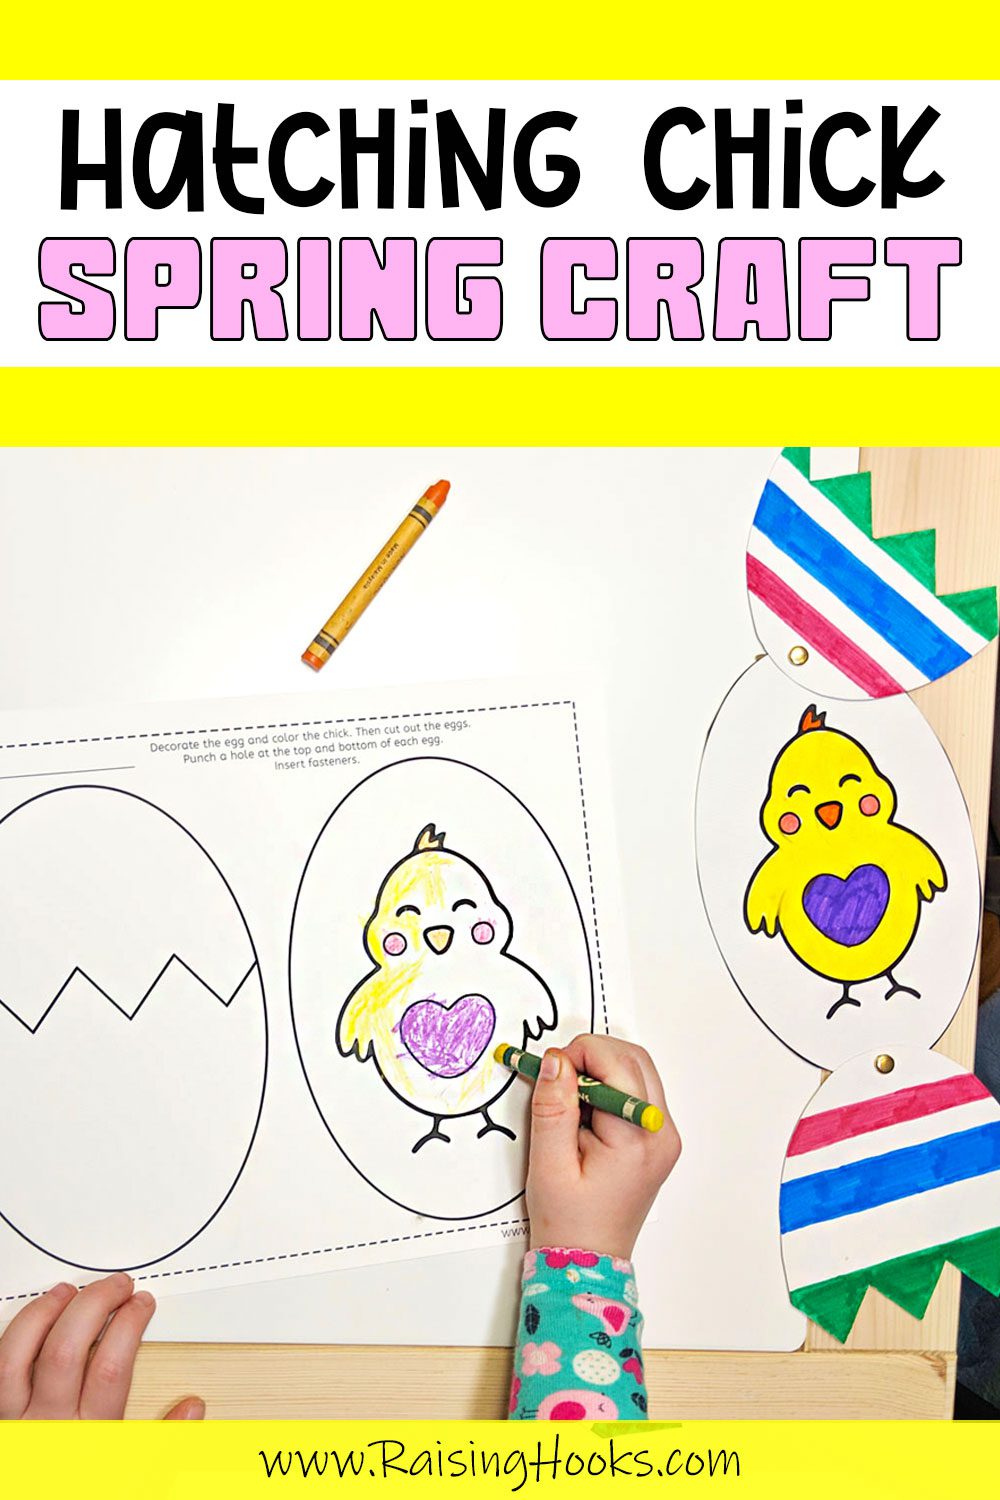
Hatching Chick Easter Egg Craft
March 16, 2019