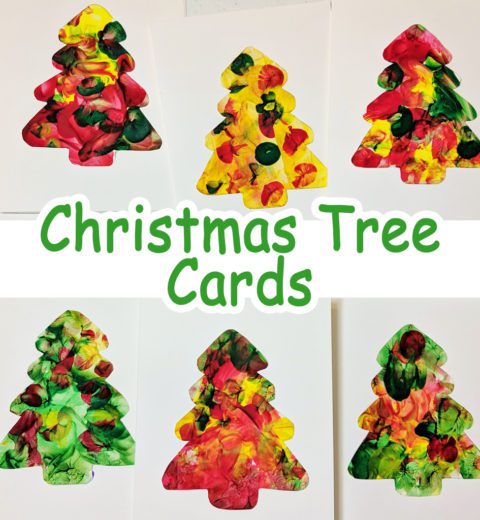
Pony Bead Snowflakes
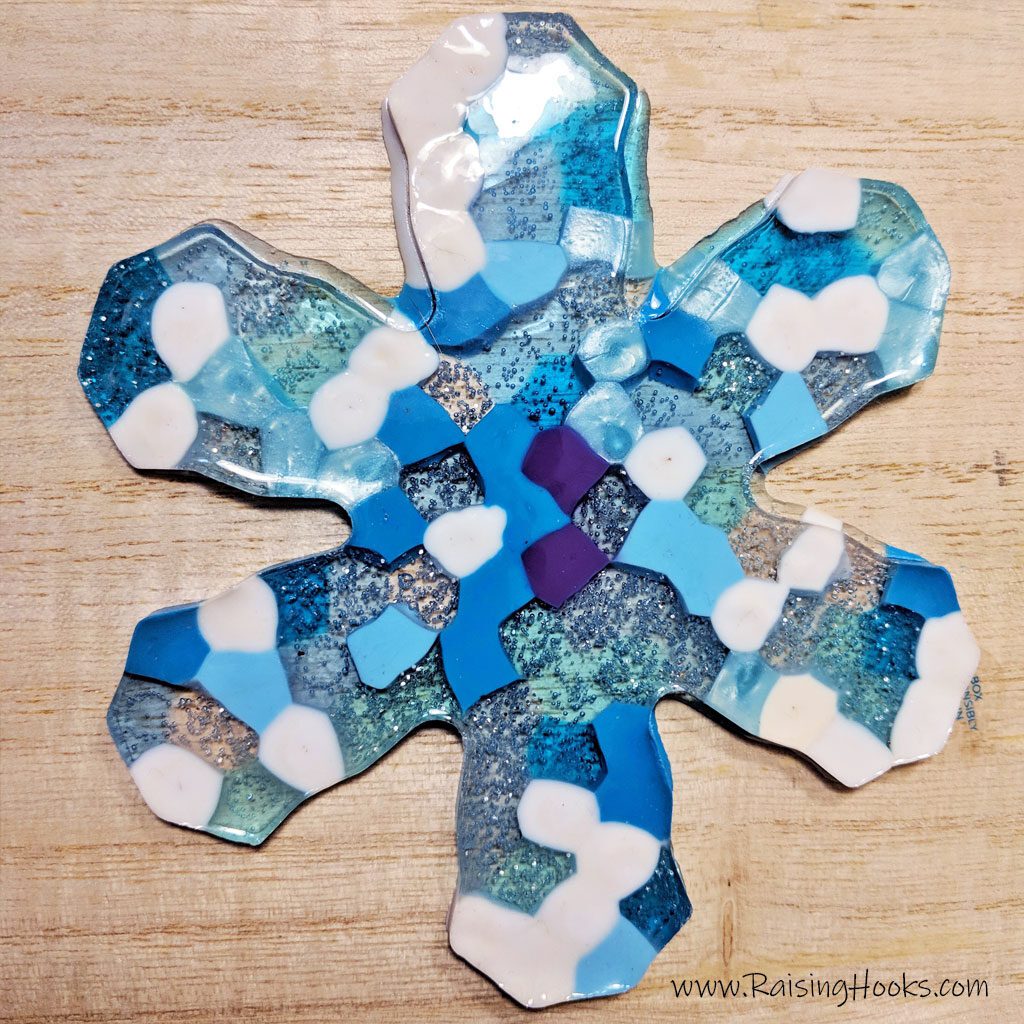
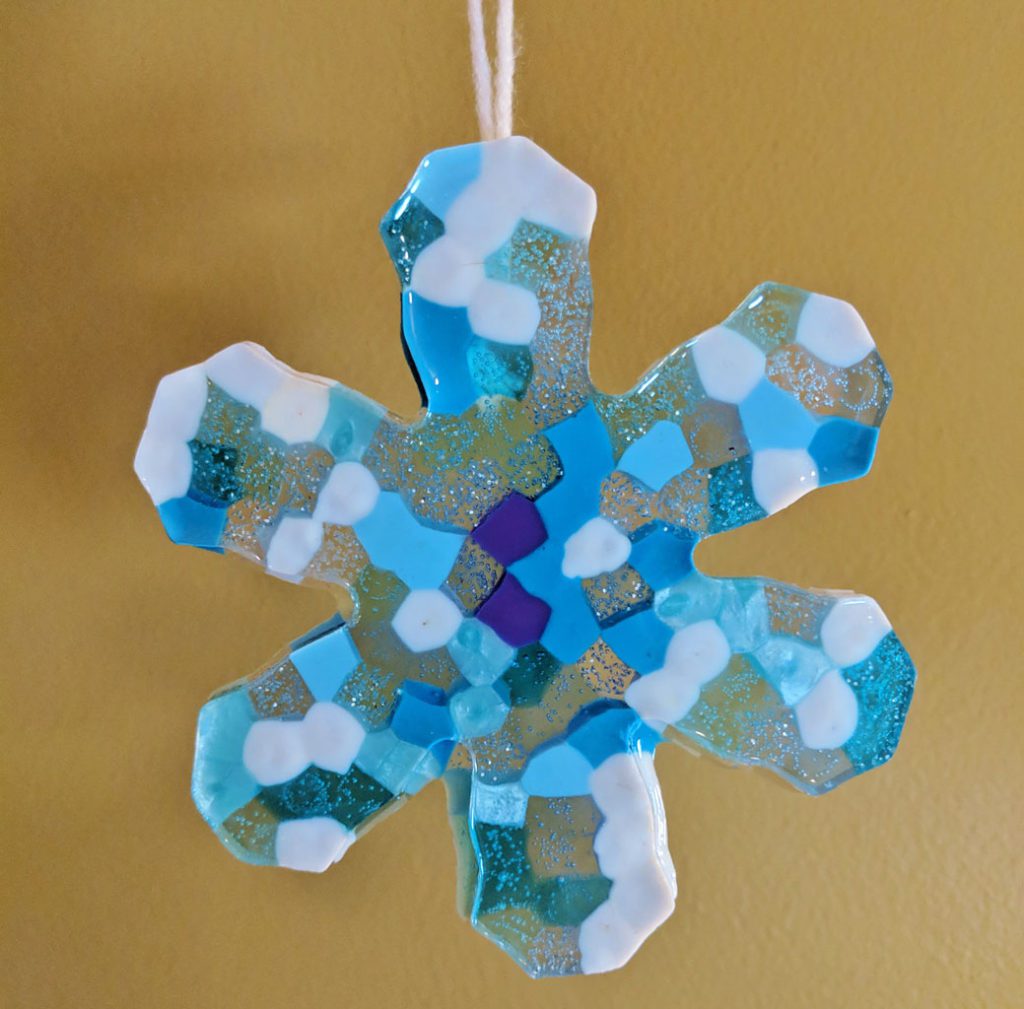
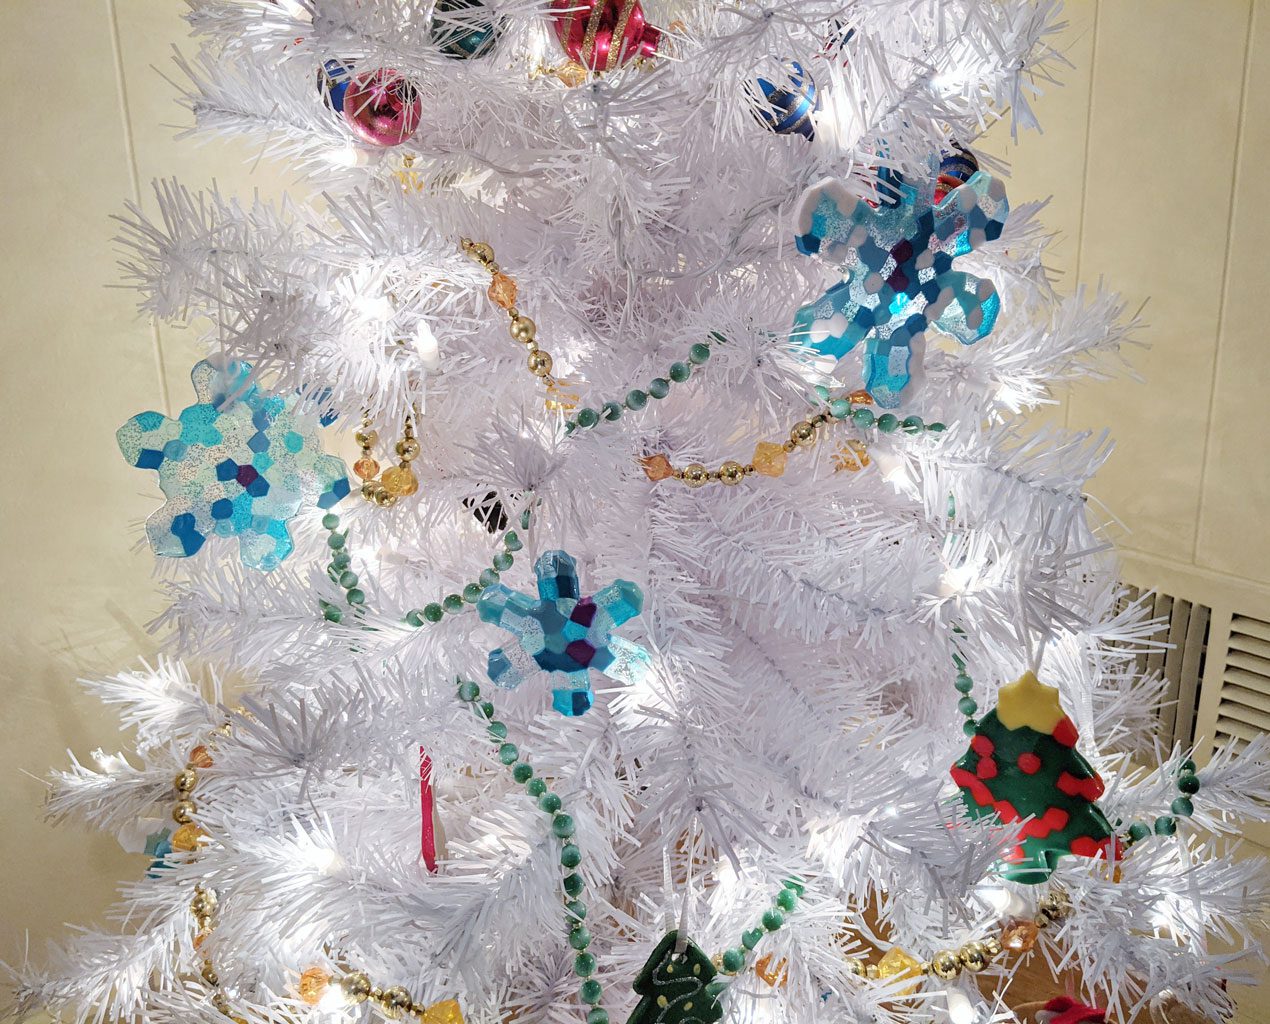
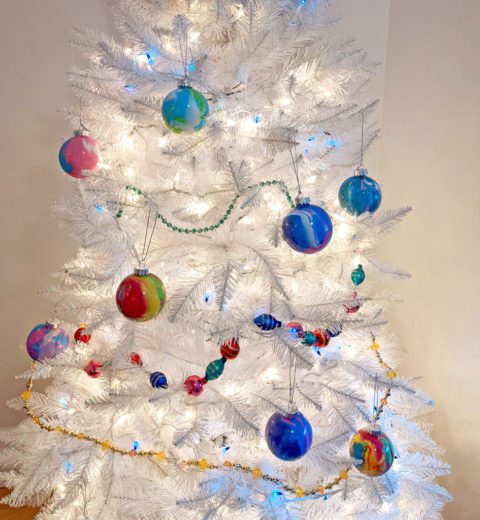
We have a pretty, medium-sized white tree for the babes to decorate each year. I’ve been looking for some cute ornament ideas for Miss 4 to make. I loved the pony bead snowflake I saw on Treasure Trays Instagram so we gave it a try. I’m so glad we did because they turned out gorgeous and gave me some great ideas for future pony bead projects!
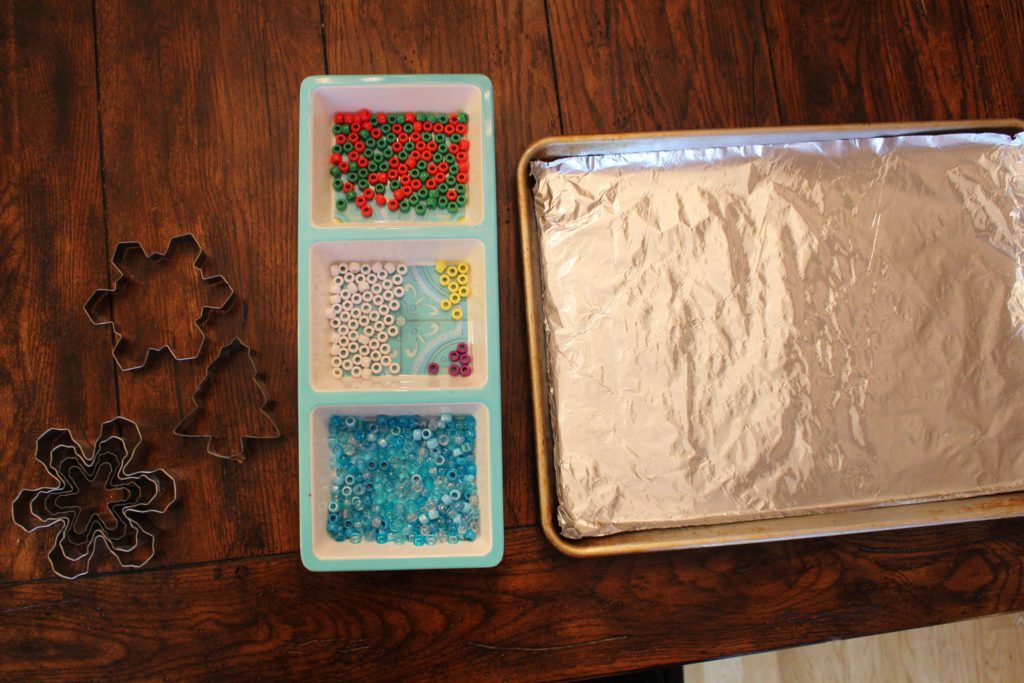
You will need:
Pony Beads (We used Caribbean Blue and multi-color.)
Cookie cutters
Aluminum foil
Baking Sheet
Hot Glue Gun (for attaching string to hang)
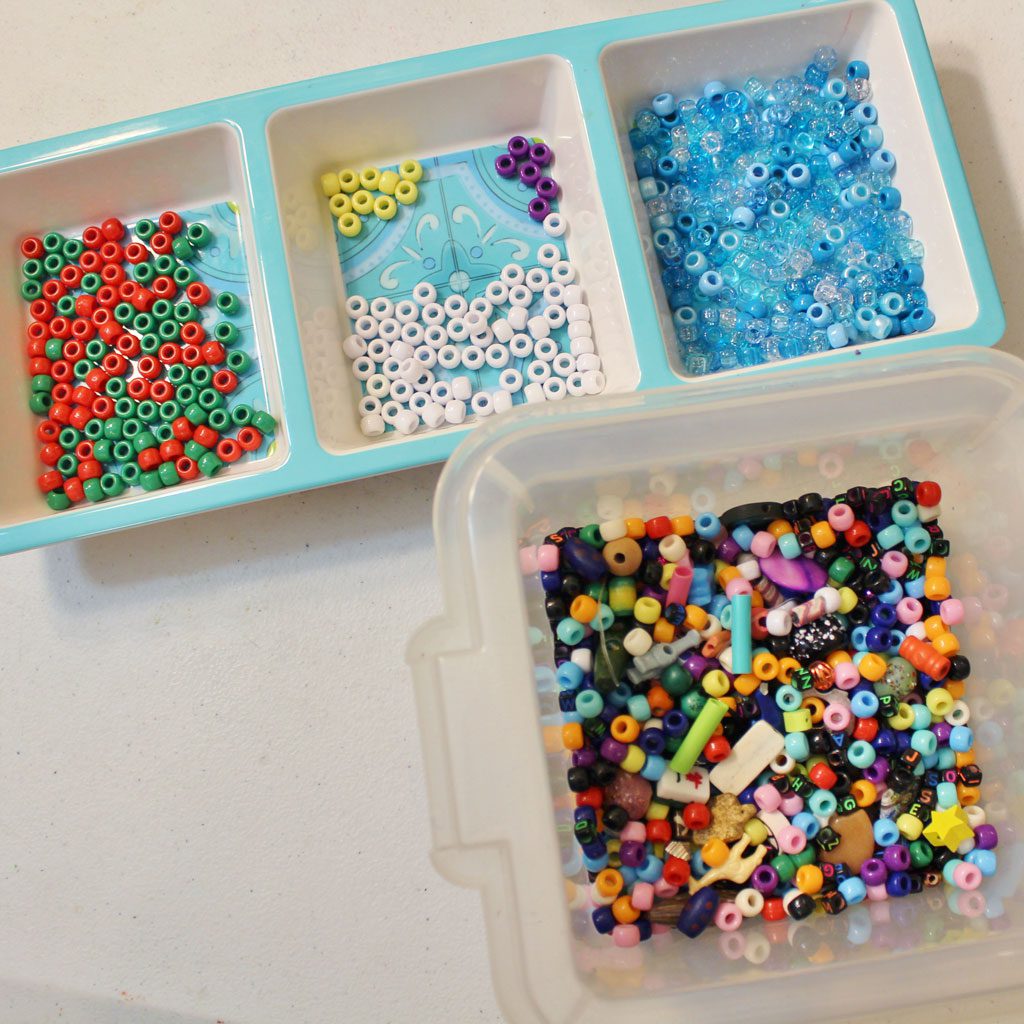
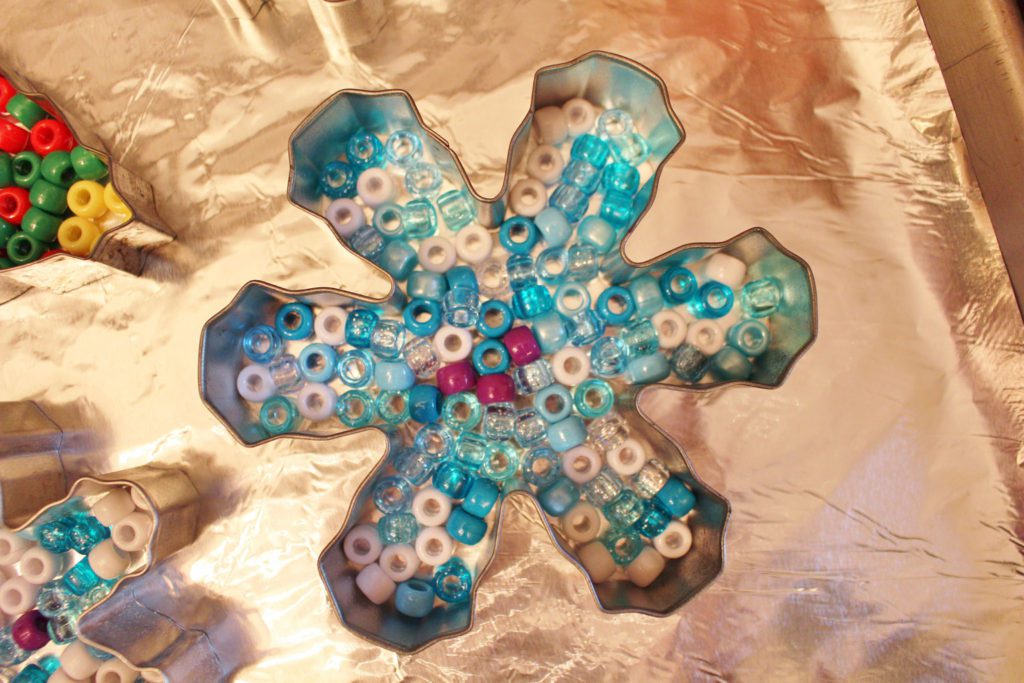
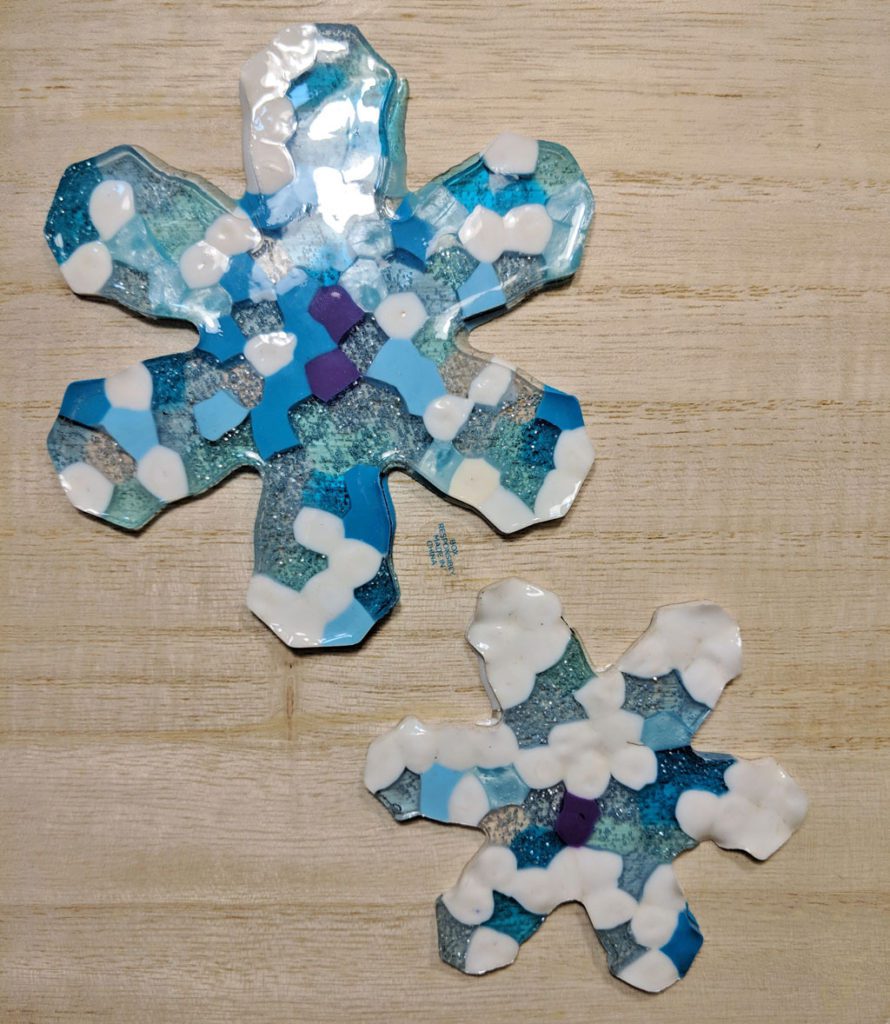
We already had a bunch of colored beads so we took out some red, green, white, yellow and a few purple. I bought the sparkly blues on amazon. I made sure they had some transparent ones with glitter so you could see through the snowflake.
Instructions:
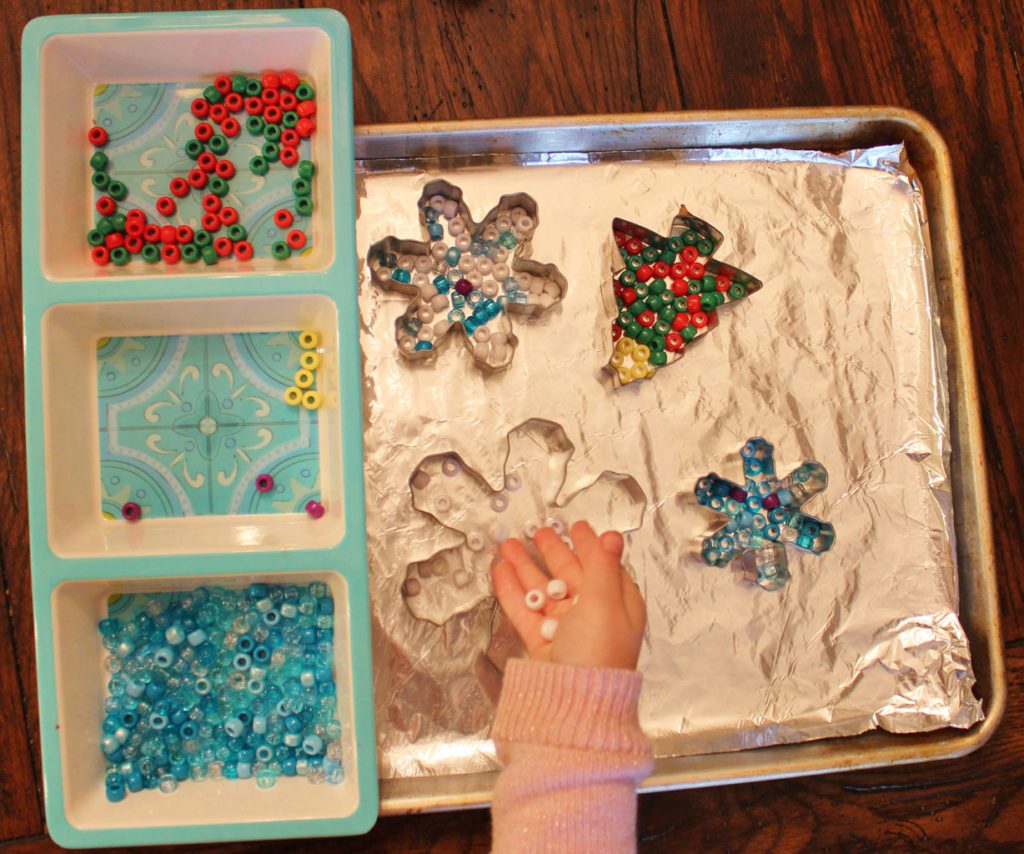
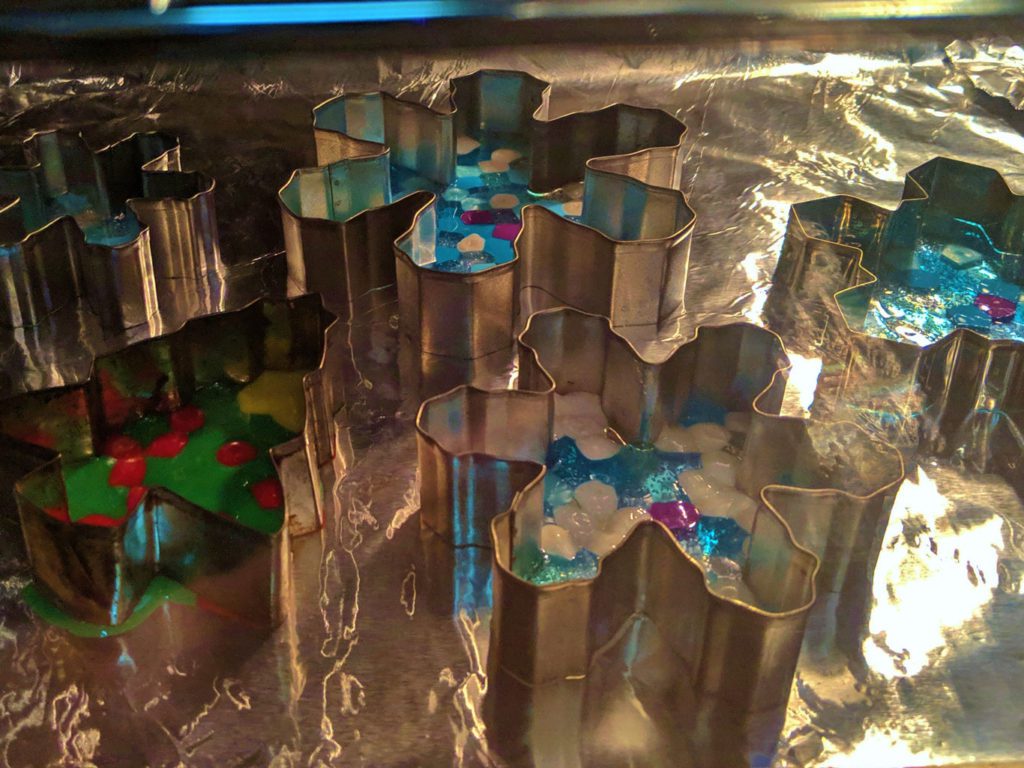
1. Fill the cookie cutters with beads. Make sure all of the space is filled without overlapping any beads.
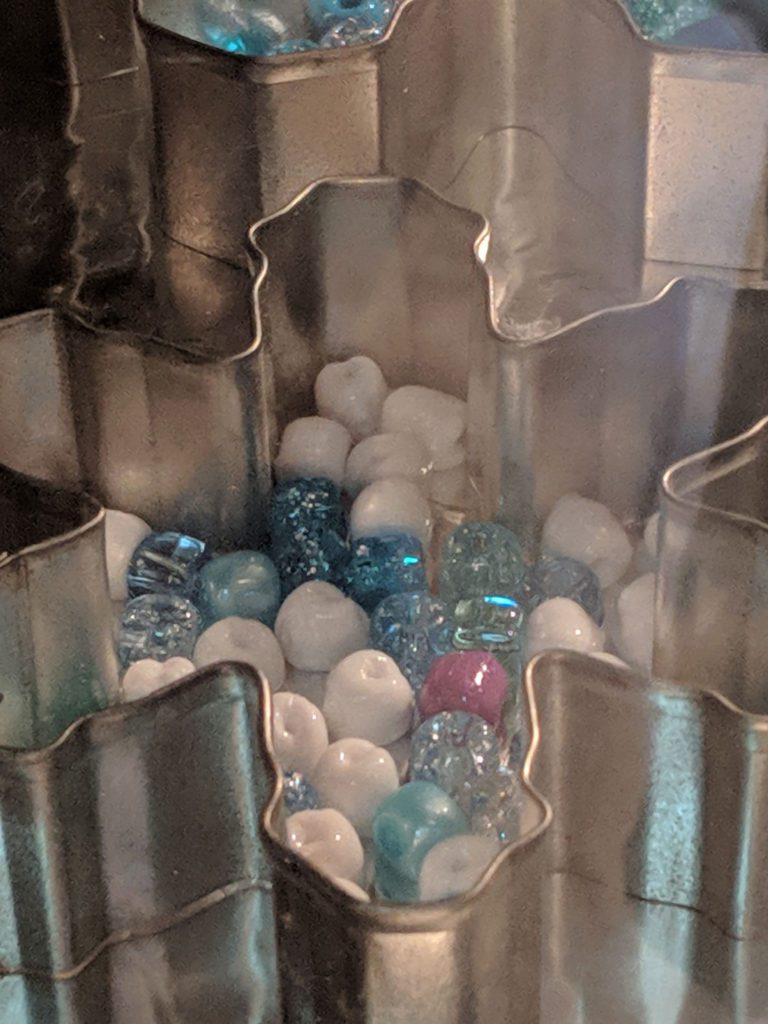
2. Stick them in the oven. I had the oven set to 550. 450 would probably be plenty. It only takes about 5-10 minutes for the beads to melt.
**Make sure your cookie cutters are flat and not lifting off of the aluminum foil. You can see the Christmas Tree in the picture below started to seep out the bottom of the bent cutter.**
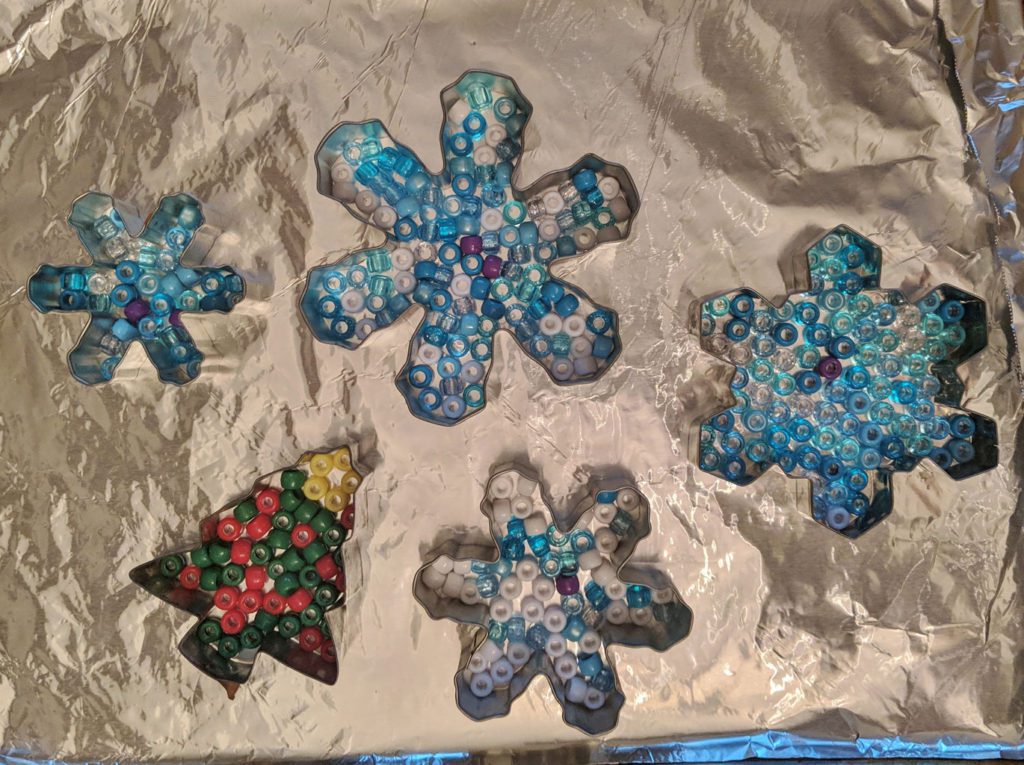
The beads will start to bubble up. Miss 4 said the white ones looked like teeth. We opened all the windows and stuck the pan outside to cool when I removed it from the oven. It definitely got a plastic-y smell but it went away soon after.
3. After they cool, pop them out of the cookie cutters.

4. You can use a drill to make a small hole for string or just use a hot glue gun and attach the string to the back like I did. Then decorate your tree!
You could also attach a wooden dowel rod with hot glue and place them in a jar or vase.

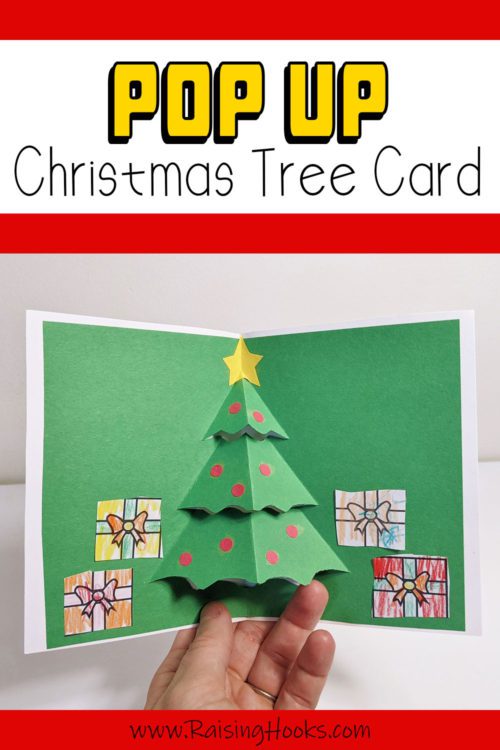
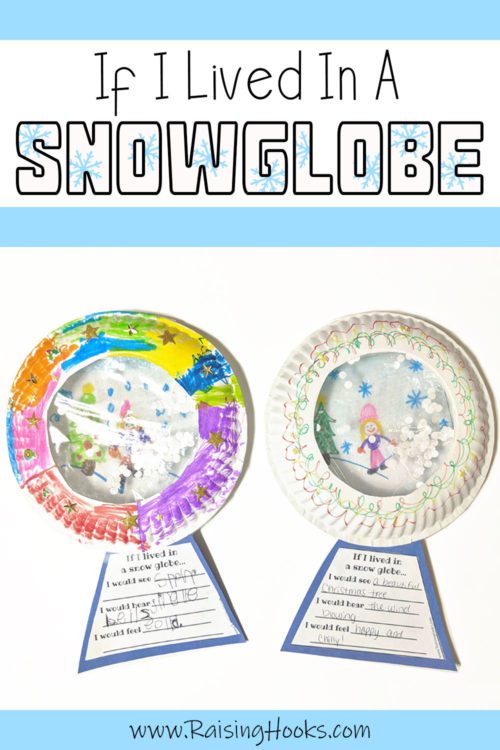

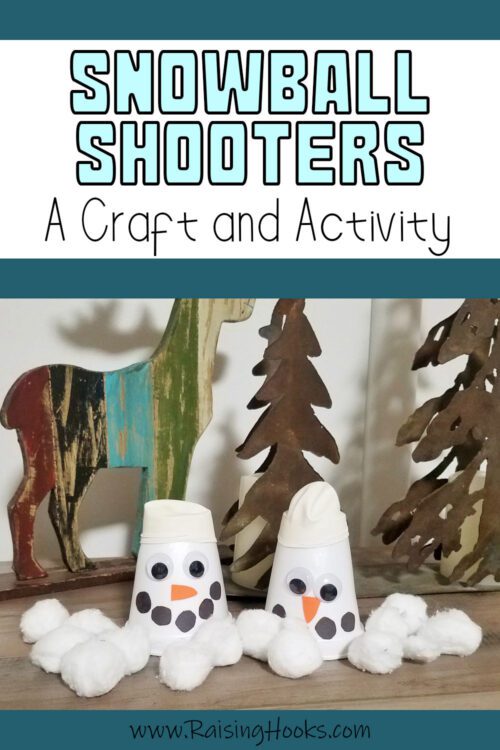
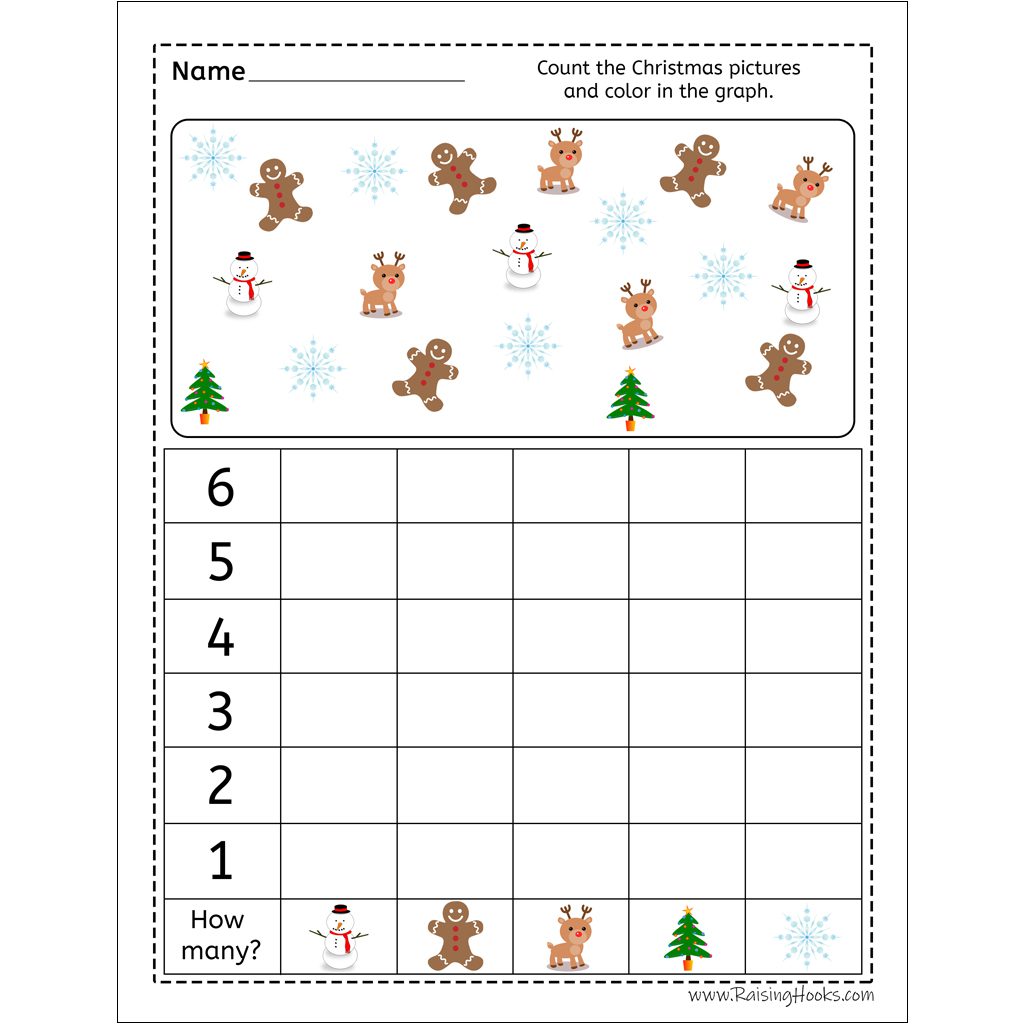
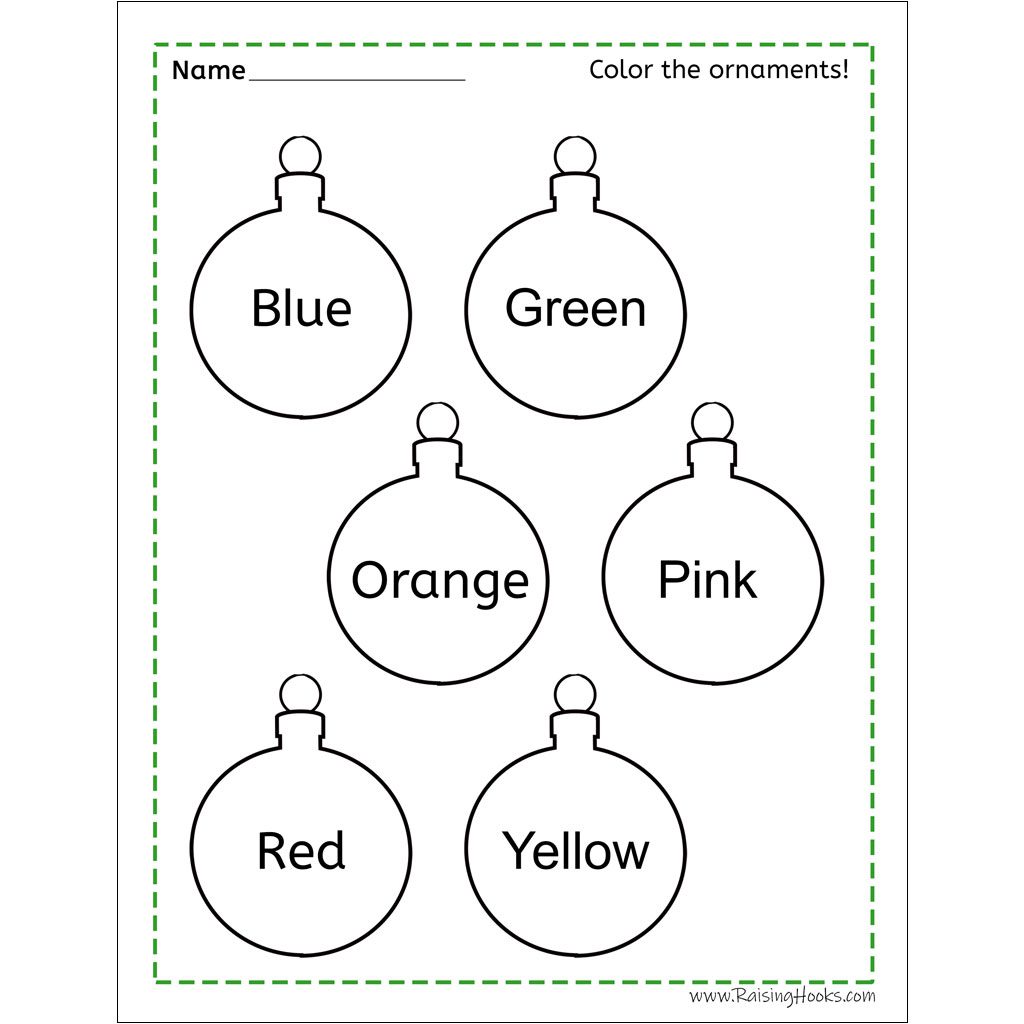
Looking for winter worksheets? Check these out ↓


Related Posts
Marble Painted Ornaments
December 9, 2021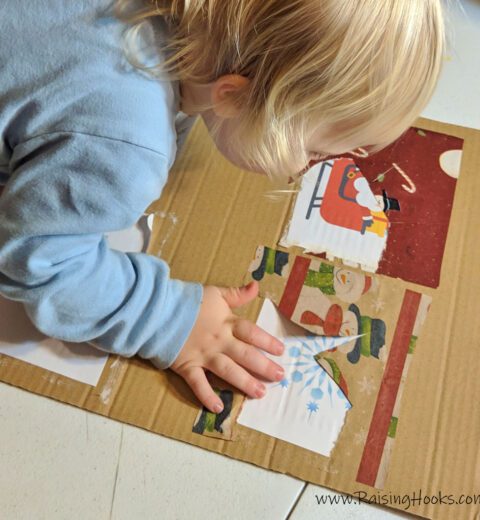
Wrap And Reveal – A Christmas Activity For Toddlers
December 14, 2018